April 11, 2011
-
Updates
Here is an update of what i’ve been doing. Planting Seeds Setting up Space …
-

“Video Sampler” performance Prior Art *edit*
So my idea is inspired by my own attempts at recreating Lasseg Gjertsen’s pseudo drum machine…
-
Four different attempts at the cymbal (and by extension bass drum and trombone)
So while I’m in waiting mode on the tilt sensors, new pressure sensors, and glove fabrication,…
-

Easy CMS just got easier! (Buy now!)
After a lot of prototypes and experiments, I managed to hack my code and TinyMCE to…
-
Your comments please. Ten mins late.
I’m running 10 mins late. Spend the first 10 mins of class commenting on 1-2 other…
-
Popular meters
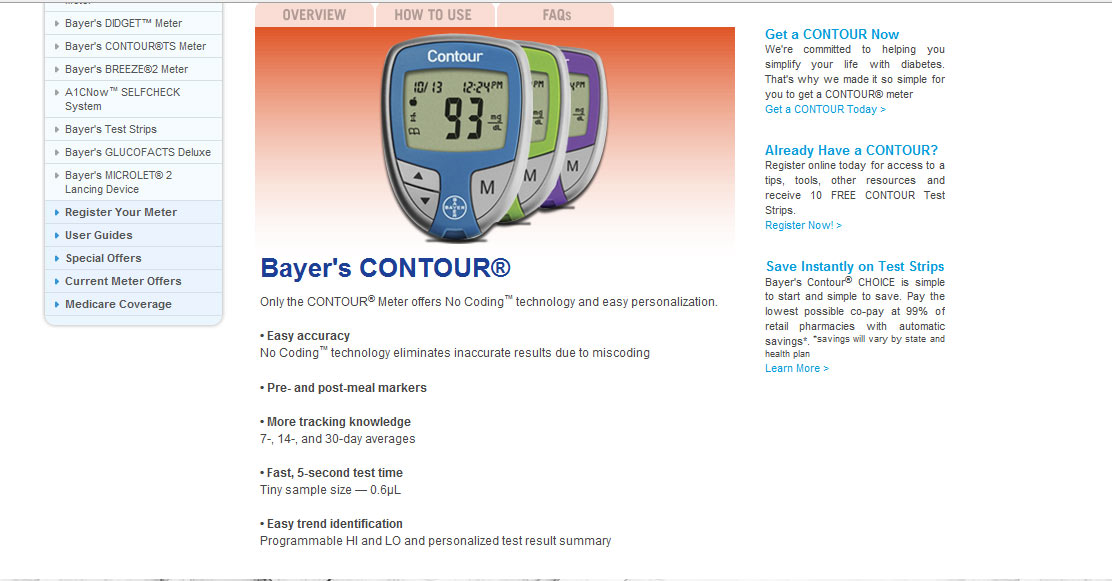
This week, I received my Didget and forced my boyfriend to be the guinea pig. He…
-
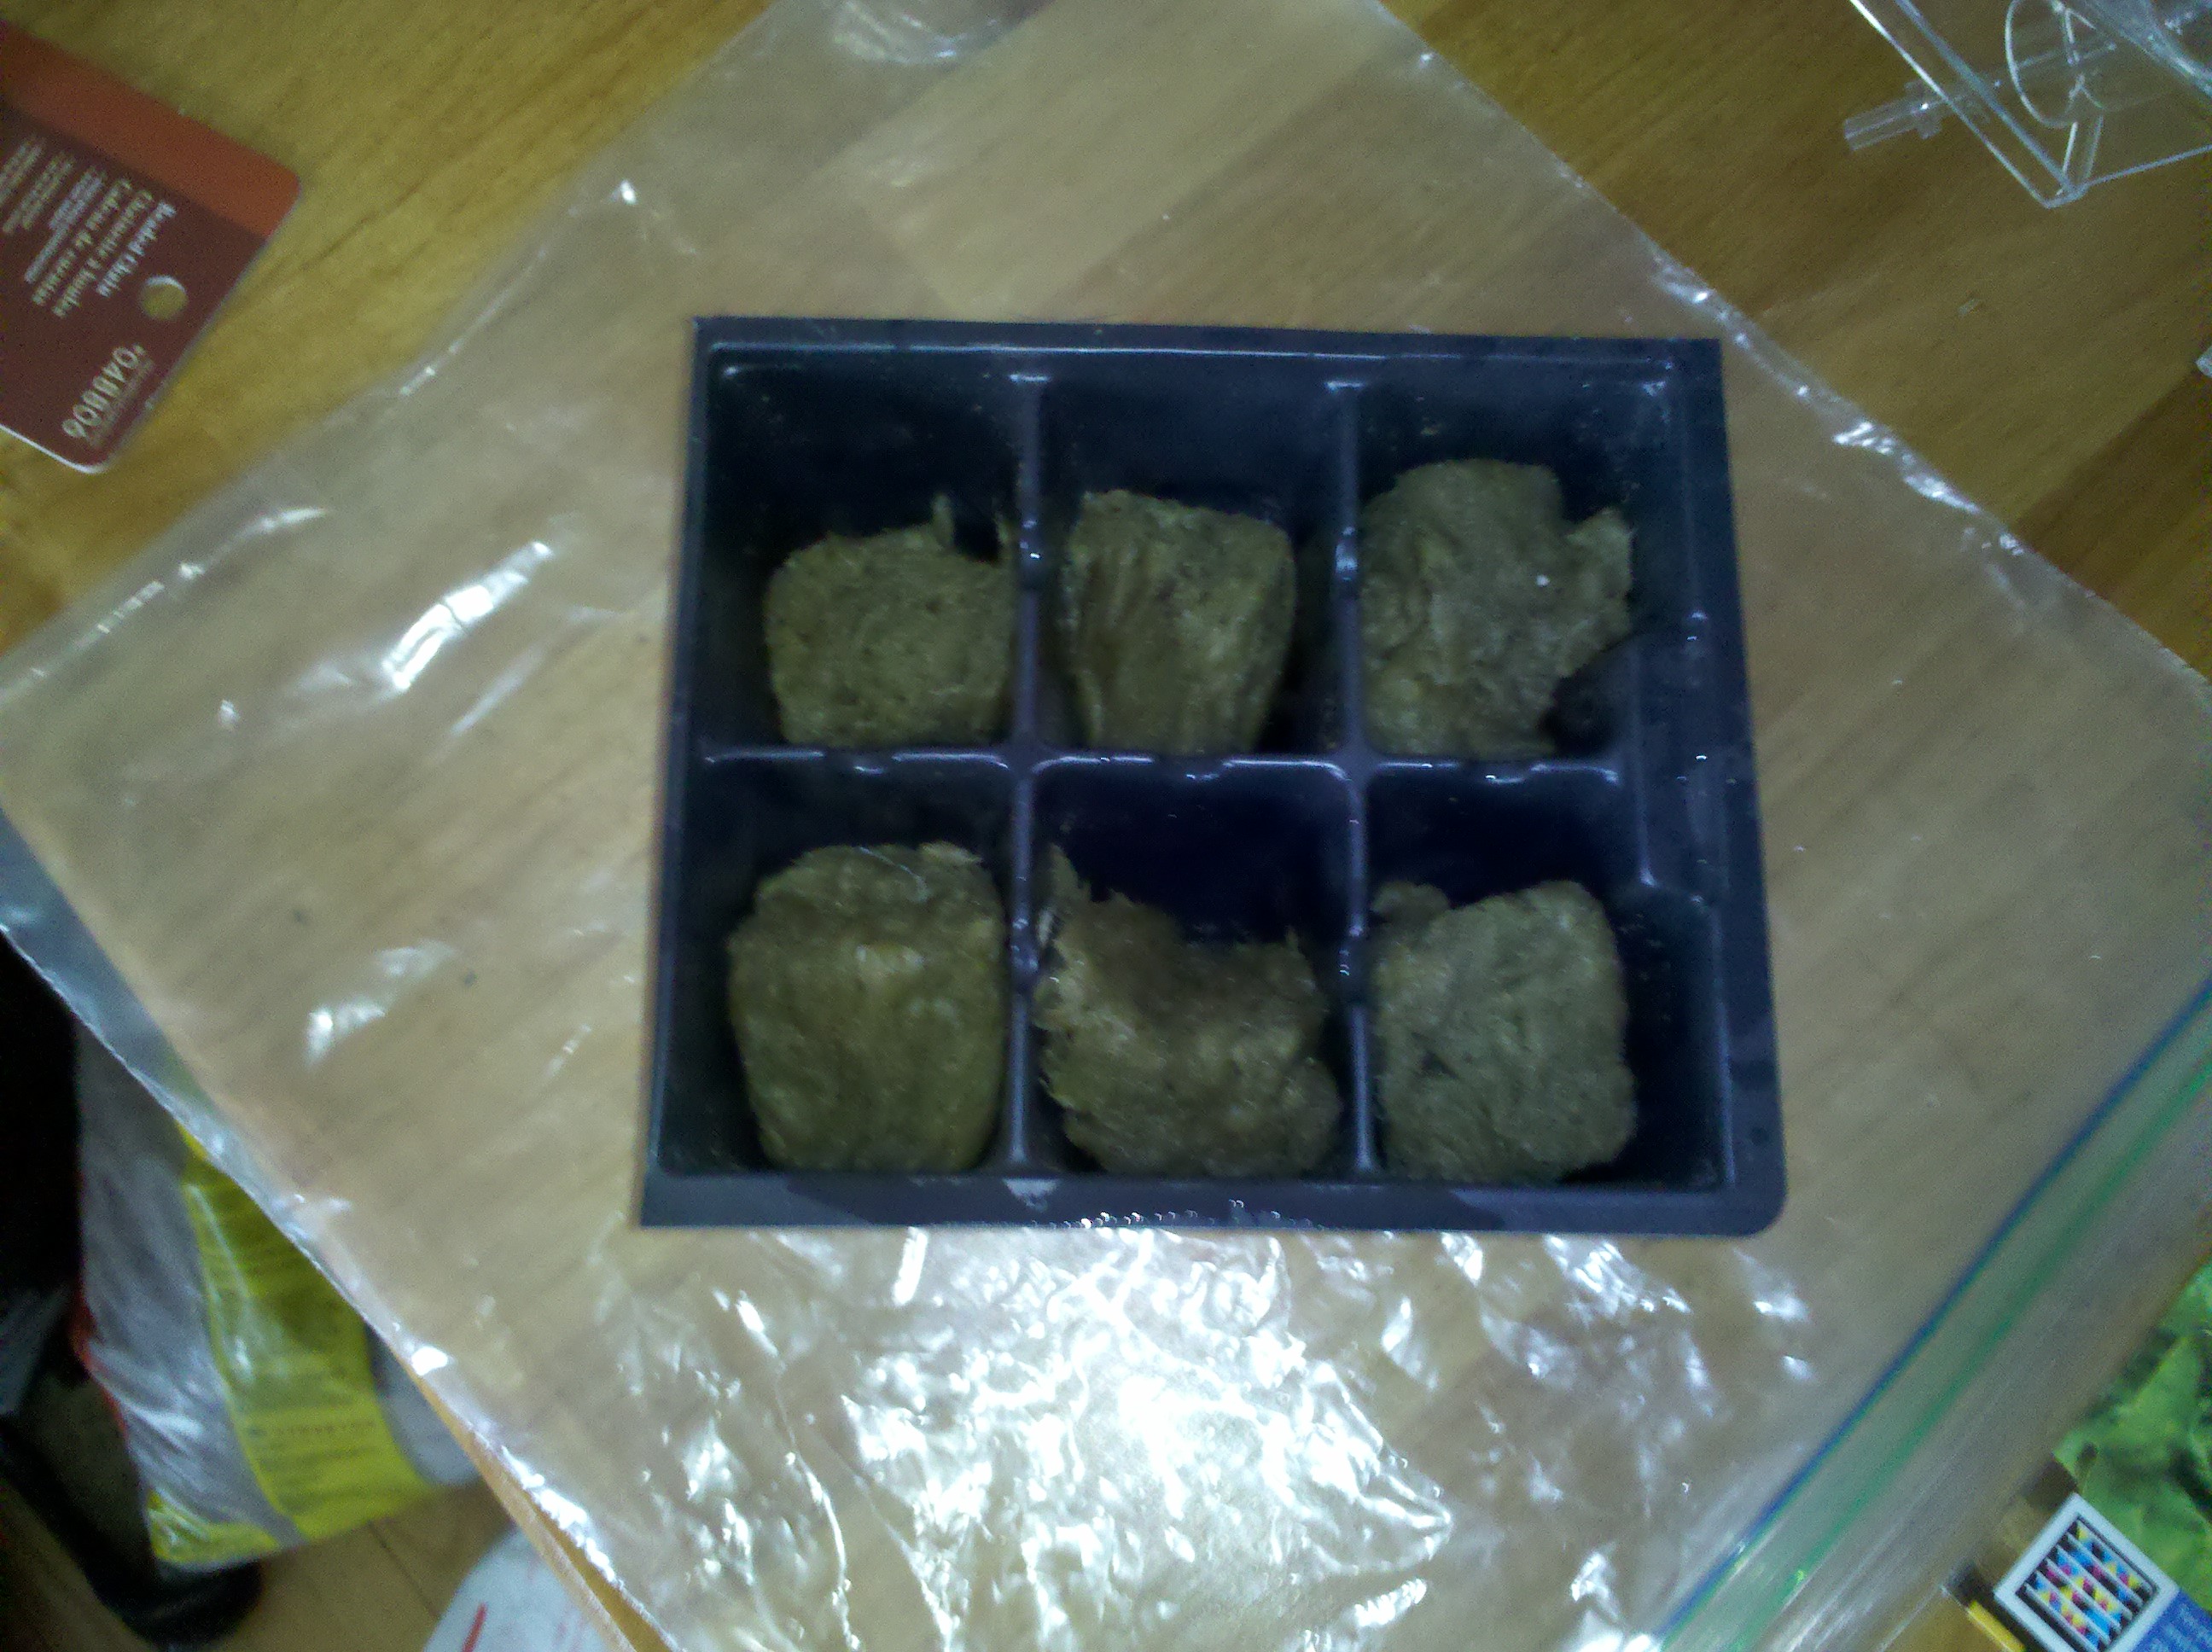
Moving on with physical prototype
Here are a “few” images of my prototype. My code is working 80%. I am hoping…
-

A lot is going on//Modulos Update
After Prototyping both circuits and look and feel for Modulos (finally it has a name), I…
-
this might be interesting… “IOIO (pronounced: yo-yo) is a product which lets you connect electronic circuits to…
-

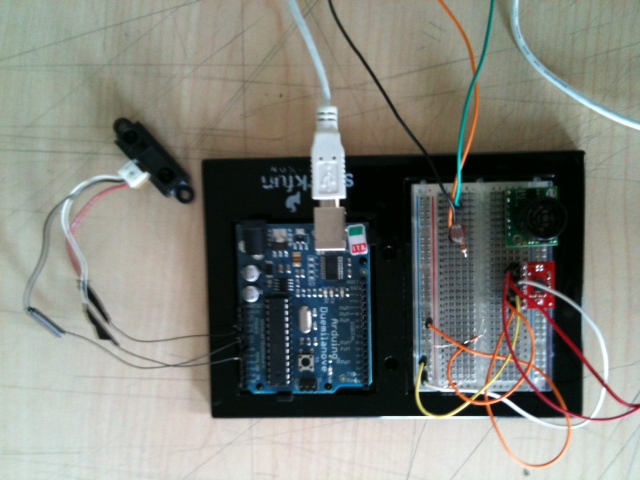
Gyroscopes! Infrared LEDS! Sounds! Balls! YOUR WILDEST DREAMS!
I dealt with a few things this weekend, so I’ll just start at the top. Wireless…
You must be logged in to post a comment.