December 16, 2011
-

wallSound is a modular sound interface that can be placed on different surfaces in the built environment…
-
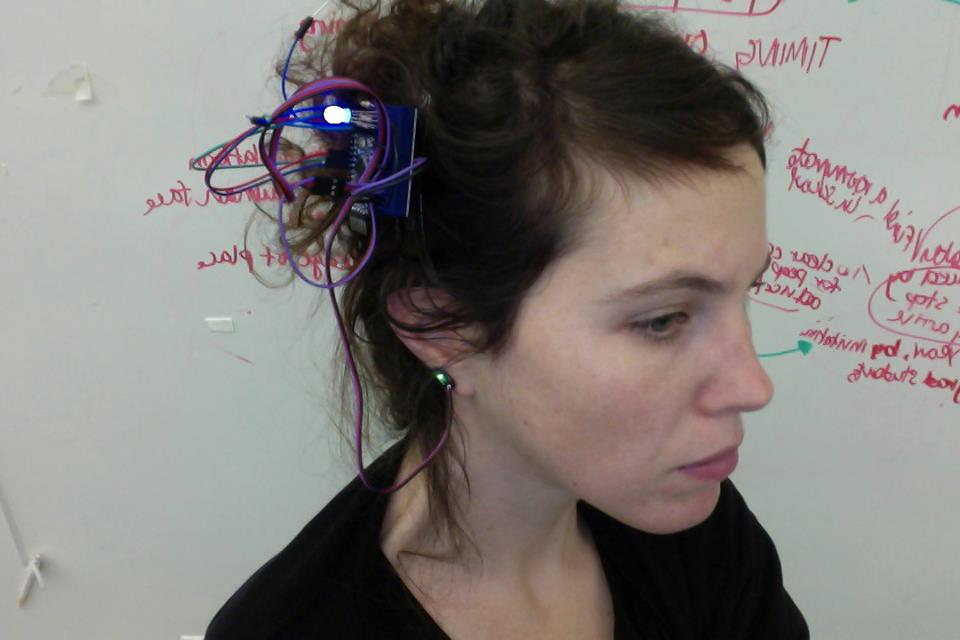
Jewelry for Geeks
Learn how your date goes through a pulse sensor earring connected to an RGB LED Designed…
-

Moduled the multipurpose lamp
Moduled is a multipurpose lamp for people who are in need of different functions, forms, and…
-

Driving wheel version 2
This project uses arduino, LOL shield, and two inputs (tilt sensors). Using its shape, it can be…
You must be logged in to post a comment.