February 2012
-
Response to What do Prototypes Prototype
As I was going over the reading, there were four principal categories of prototypes in a…
-

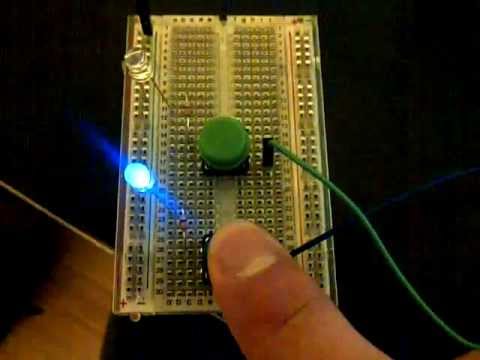
Not 1….but 2 Buttons!
My video No problems this week. It went surprisingly smooth.
-

-

-

2 buttons, 2 LEDs
I tried to upload the Fritzing diagram with the Arduino code, but the Fritzing site is…
-
-

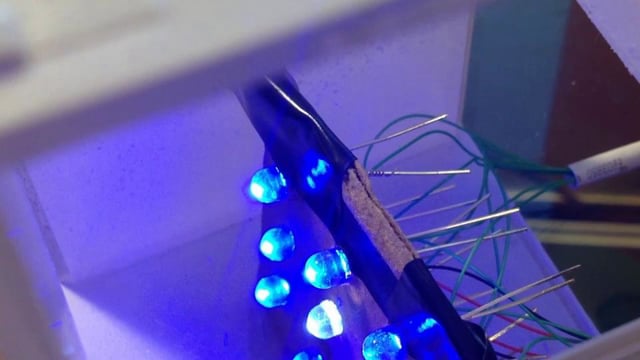
LED Box
I used 5 LED’s for this project assigning 3 different functions to them. Here is a…
-

animateObject Prototype: Stress Box
This is a series of LED boxes controlled by keyboard inputs via Arduino. First it wakes…
-

Emotion LED’s inside a box project
I found this project to be very rewarding and refreshing. I was surprised about how quickly…
-
LED Box
What I found most challenging for this project was getting my individual functions to loop once…
-
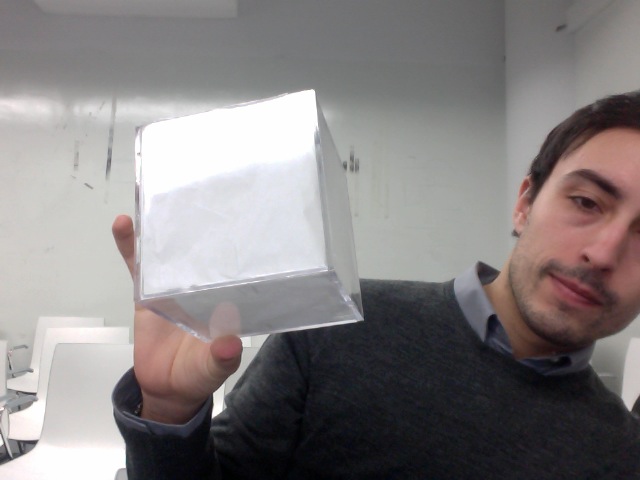
White LED Box
I wrote up a blog entry with much great detail and pics but didn’t want to…
-
Making Toys Assignment for Tues 21st.
Make a “Living Light Object” Create an enclosure (of any material) that diffuses and hides your…
-
Major Studio Assignment for Feb 16th.
Make an “Emotional Box” Create an enclosure that diffuses and hides your LEDs (and Arduino). Using…
-
Wireless Toys Class Parts
Parts List, Spring 2012 1) Arduino UNO, 1 unit: [from any where] http://www.sparkfun.com/products/11021 ——————- 2) Break…
-
Lil about me
1. background: I have a BFA in Film Art from Syracuse University.Essentially, in the long years…
-

1st Post yeah!
1.) Amira Anne Pettus 2.) 3.) I have a B.S. from Georgia Tech in Science,Technology,and Culture.…
You must be logged in to post a comment.