November 9, 2012
-
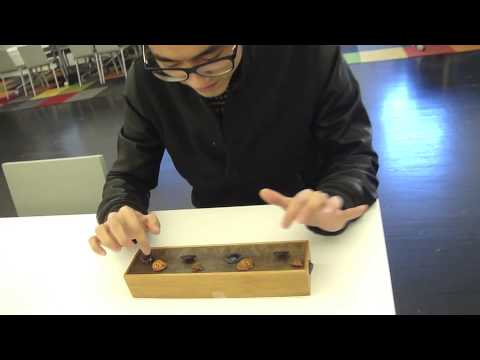
Zen Ribbit
Updated video: Here
-

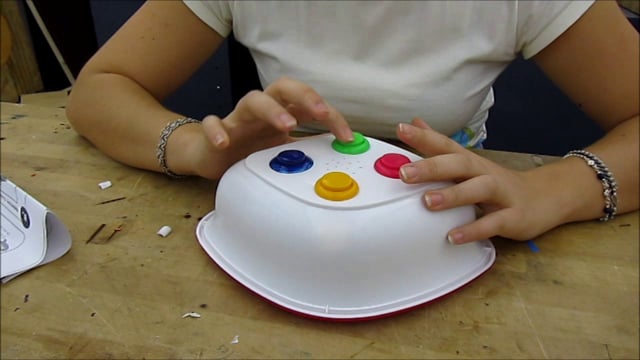
SimonBot!!!!
I’m so proud of my first d+t prototype! It’s not much but I have learnt a…
-
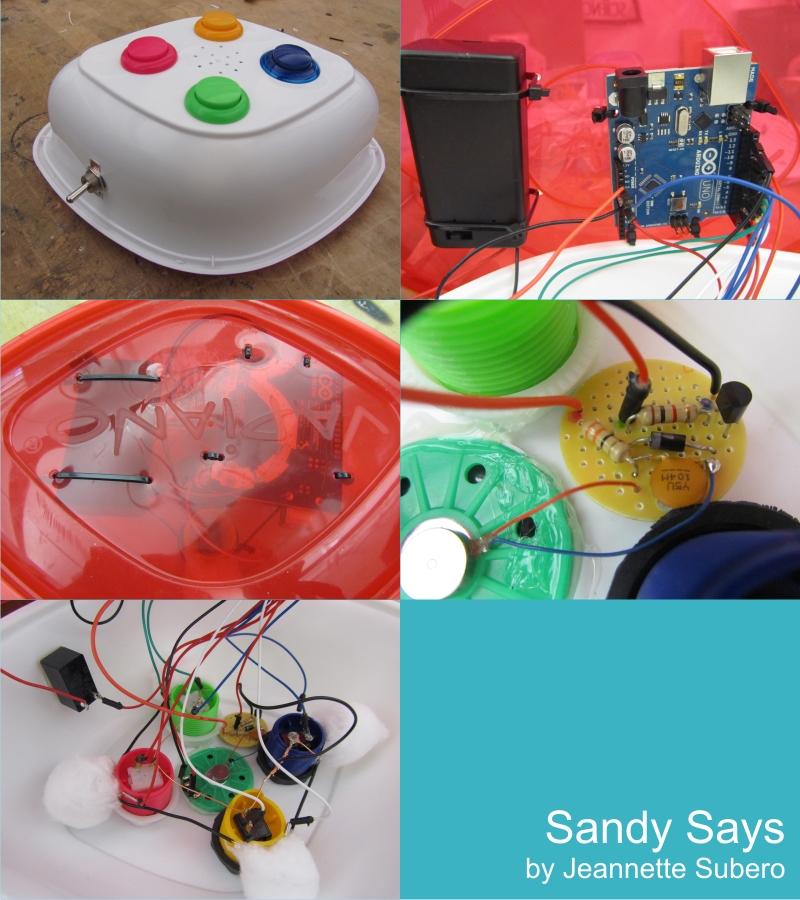
Sandy Says
Construction Photo Details!
-
Sandy Says
My Simon Game’s enclosure broke during the hurricane, and since most stores were closed, I had…
-
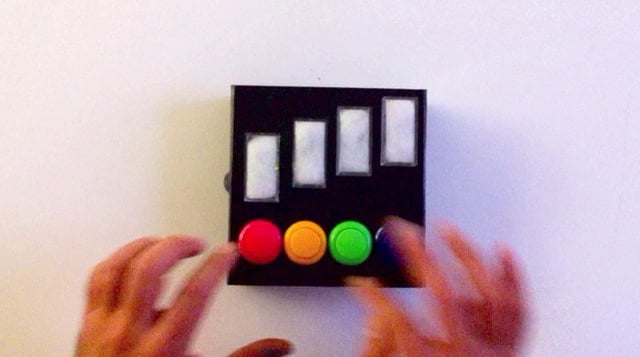
Jenn Kaye’s Simon-ish Game
Voila! Play tested and all. (and 2 “regular” videos documenting a successful game in and…
-
Simon Says In action
Here the video af my simons says game in action: https://vimeo.com/53161359 Also find more information about…
-
-

Simon Says
Here is my Simon Says game!! <p><a AND THE CODE::: //buttons const int…
-
analogRead & analogWrite Assignment for next class
Do: 1) http://arduino.cc/en/Tutorial/AnalogReadSerial [POT] 2) Photocells – Adafruit Learning System 3) 2.16 from Arduino CookBook (on…
-

-

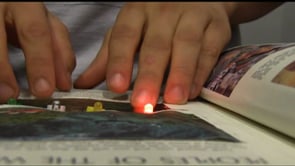
My Arduino Simon
I used some soft materials to wrap and form my Simon. Inside the white fabrics are…
You must be logged in to post a comment.