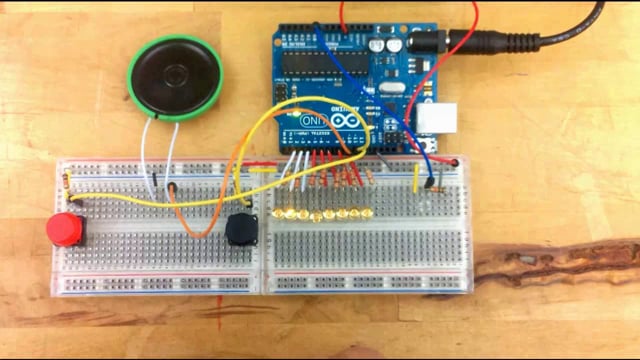
Updates from October, 2013 Toggle Comment Threads | Keyboard Shortcuts

  • sabotai 6:56 pm on October 4, 2013 Permalink | Reply
    Tags:   

    Instrument

    The yellow button triggers range mode with the tone moving along the scale with the photoresistor acting as a multiplier.

    The green button triggers the light sensing tone/light level mode.

    The other buttons increase and decrease the delay.

     
  • Max(TONG WEN) 6:51 pm on October 4, 2013 Permalink | Reply  

    Maker fair–Max 

    IMG_0007

    IMG_0004

    IMG_0002

     
  • Max(TONG WEN) 6:44 pm on October 4, 2013 Permalink | Reply  

    homework-3week-(maxine) 

    http://www.youtube.com/watch?v=feZV4hb38aA&feature=youtu.be

     
  • Max(TONG WEN) 6:44 pm on October 4, 2013 Permalink | Reply  

    homework-2week-(Maxine) 

    http://www.youtube.com/watch?v=SZzj5lRQioM&feature=youtu.be

     
  • xinhe feng 6:33 pm on October 4, 2013 Permalink | Reply  

    My Small Instrument 

    Homework assignment for class 09/27

     
  • gracegotlost 4:31 pm on October 4, 2013 Permalink | Reply  

    Light&Sensor&Sound: Electronic Heart_Tingshan Gou 

    My idea is to create a visual/audio representation of Love. The sound was created based on the Initial Letter of me and my bf, which is GTS&YJL on the piano keyboard. The Green button represents when we are happy, while the Red button represents when we fight. I put the speaker in the middle of the heart, which looks like the heart can speak itself. I found it really interesting to arrange the wires, resistors, and other components like this. Apart from its function, the circuit is like a piece of work itself, quiet and humble, waiting for someone to push either of its color button, eager to tell its stories. In prototype 1, the button can not stay ON state itself once I moved my hand, so I have to hold the button and cover the sensor to change the mode. But in prototype 2 as I uploaded below, I used a variable to record the previous state of the button and changed the state only if the previous state is OFF and current state is ON. I also recreated the breadboard, cut off the +/- part of each board and combine them into one. Hope this won’t cause trouble to my later work >_<

    IMG_5400

    Below is the video:

     
  • Evander Batson 4:29 pm on October 4, 2013 Permalink | Reply  

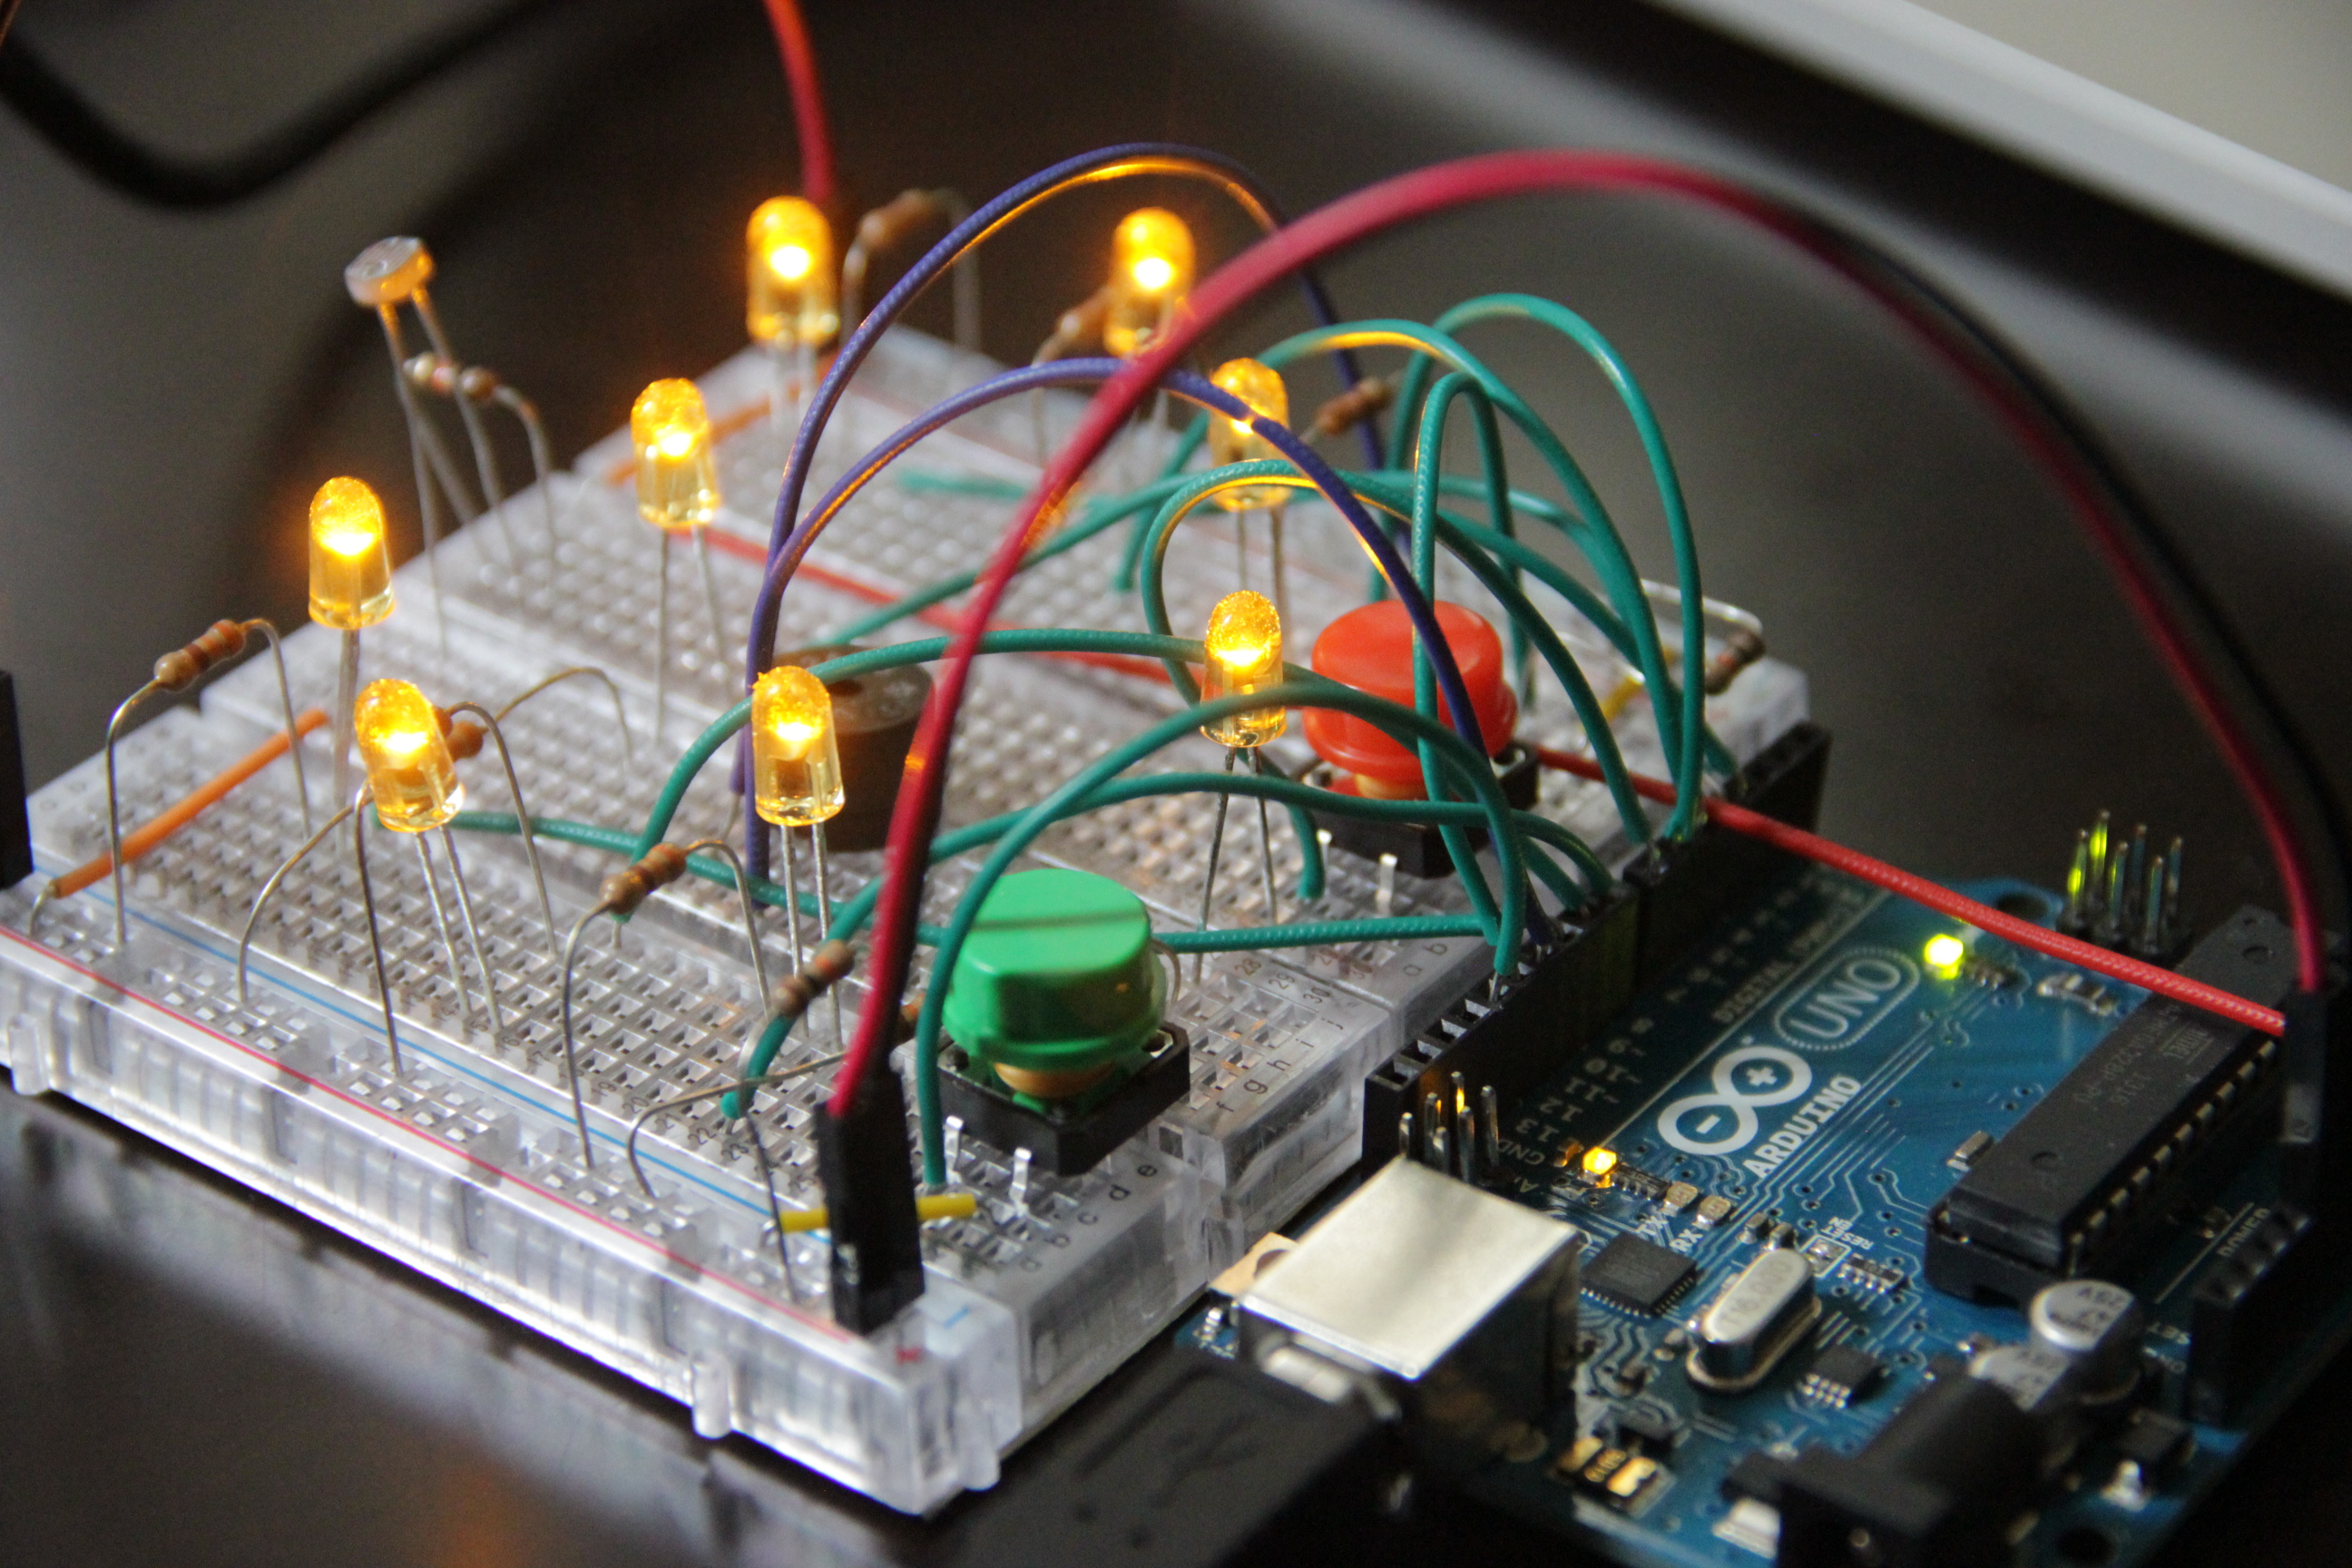
    [homework] Three button instrument 

    button A : g major automatic arpeggio
    button B : e minor automatic arpeggio
    button C : d major light-resistor controlled arpeggio


    Code here:

    https://github.com/evanderbatson/demos/blob/master/instrument.ino

     
  • Soohyun 3:46 pm on October 4, 2013 Permalink | Reply  

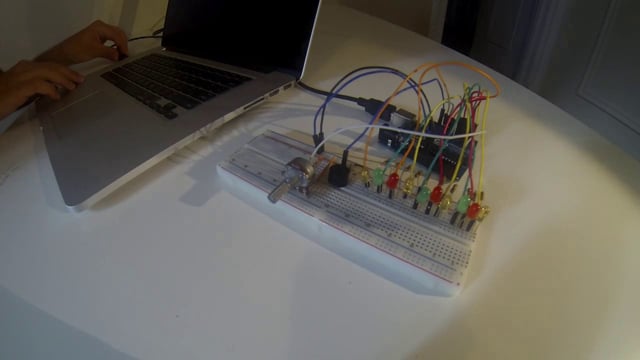
    Musical Instrument (light sensor LED) Assignment 

    Assignment – light sensor with button and LED

    I used two buttons: one for increasing way of led lights and sound, and the other for decreasing way of them. In addition, sound and light speed are changed by the light level status from the light sensor analog input data.

     
  • Yury Gitman 3:35 pm on October 4, 2013 Permalink | Reply  

    Assignment for 4/11's Class 

    1)   Read and Do exercises pages: 105-108,  Programming Arduino. (Section on Library and Random Numbers)

    Re-read Analog Outputs section on Programming Arduino in Chapter 6.

    2)  Read and Do circuit 03 in the SparkFun Inventor’s Kit   RGB LED.

    3)  Create a “Color Dial Toy”. 

    Make a device with 1 RBD LED, 3 Potentiometer Knobs, and One Button.   Each one of the Knobs increases or decreases the value of and Red, Green, or Blue Value.   As you turn the 3 knobs you can mix the R, G, or B values individually.  When you push the button, the RGB LED changes colors Randomly.  IF button is pressed the LED turns all sorts of different colors.

    Note: I asked you to buy three Rotary Potentiometers. Use these or any 3 of similar value.

     
  • giang063 2:51 pm on October 4, 2013 Permalink | Reply  

    Musical Instrument 

    Idea
    Make a real music instrument. Actions should change notes and time. I find pre-programmed musical loops frustrating for playing. Typical Lanier’s “locked-in” designs, maybe?
    Push button should change some playing “mode”.
    Original assignment: https://makingtoys.net/2013/09/27/1-read-and-do-exercises-pages-85-103/

    Prototype 1
    I first put a potentiometer to control the notes. They are playing a C Major scale, based on the frequencies I’ve found here.

    Prototype 2
    I added pauses between the notes so that they can articulate and I would have a tempo.

    Prototype 3
    I added a photo resistor to control the note value, i.e., duration. It feels more like a change in tempo, but it works.

    Prototype 4
    I added a push button to switch modes:

    • In the first mode, potentiometer controls notes and photo resistor changes time;
    • In the second mode, photo resistor controls notes and potentiometer changes time.

    The second mode feels more intuitive to play.

    Notes
    The push button may need some adjustments to change modes properly. It may not be the best solution for a switch function.

    Update
    I added the bounce library and now it works perfectly!

     
  • FluffyLeecy 1:43 pm on October 4, 2013 Permalink | Reply
    Tags:   

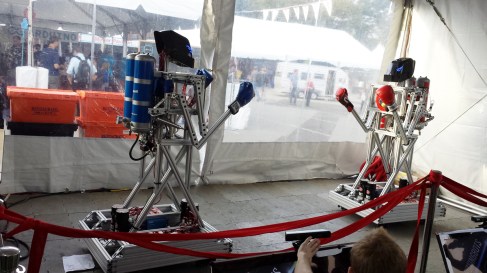
    Maker Faire Highlight – My favorite 3 

    I have to say I enjoyed MF so much that I really want to bring my project next time. As I was also a volunteer on Sunday, I experienced the fun of both making and exchanging ideas and passion. Showing projects to kids made me so proud of myself even it was not my project.

    My 3 favorite projects were:

    1.  Kinect Fighting RobotImage

    Using Kinect to track movements is not news but still makes it exciting and fun. I was fascinated by its well-designed appearance and UI design which is very smooth, clear and easy to convey the messages like loading, fighter information, and etc. Kids can understand it, join it and play it, without any instructions.

    Image

    Here’s the video:

    2. Thunder Bear Board

    This is really old school stuff but truly impressed me. It’s designed by Stamati & Sophia, from a little lovely studio called “Almost Art House”. It’s pretty easy in designing but very meaningful for people who have dreams and goals. In despite of its low techie, it emphasized the willingness or motivation of doing things. I think this spirit is very important today as technology is making people’s lives more and more convenient, at the same time, making people lazy in thoughts, even subconsciously rely on technology. Design products as Thunderbear would bring back the motivation in people, making them do things only they are aware of. Setting goals by hand, fulfill dreams and enjoy being a champion.

    The most lovely part is it even designed a champion board for users to show their achievements.  How adorable!

    ImageImageImage

    3. Lovely robots

    I simply like their appearance. I like the idea they are using daily-used material to design their robots. Look at the eyebrows they have!

     
c
Compose new post
j
Next post/Next comment
k
Previous post/Previous comment
r
Reply
e
Edit
o
Show/Hide comments
t
Go to top
l
Go to login
h
Show/Hide help
shift + esc
Cancel