Updates from hilalkoyuncu Toggle Comment Threads | Keyboard Shortcuts

  • hilalkoyuncu 2:43 am on May 17, 2011 Permalink | Reply  

    TED 

    T.E.D.  is a line of therapeutic empathetic dolls that diagnose and reduce anxiety levels of the user.

    Pranayama is the first design of the series, it detects the stress levels of the user via a GSR sensor embedded in its palms and it provides the user with suitable breathing routines by generating pulses of light and vibration set to specific frequencies.

    Here lies the final paper.

    And here is a video that demonstrates how Pranayama functions.

    http://vimeo.com/23642570

    And here is the relevant blog posts about the research and process:

    https://makingtoys.net/author/hilalkoyuncu/

     
  • hilalkoyuncu 10:00 pm on May 12, 2011 Permalink | Reply  

    T.E.D. “Pranayama” 

    http://vimeo.com/23642570

     
  • hilalkoyuncu 9:53 pm on May 5, 2011 Permalink | Reply  

    Hilal_second presentation 

    hilalkoyuncu.com/computation_final_first presentation_2.ppt

     
  • hilalkoyuncu 8:58 pm on April 25, 2011 Permalink | Reply  

    Packaging drafts 

    This is the front view of the package.


    The instructions will be inside the box.

     
  • hilalkoyuncu 5:03 pm on April 21, 2011 Permalink | Reply  

    Presentation-Hilal 

    hilalkoyuncu.com/computation_final_first presentation.ppt

    This is a video of the insides when they were fully functional.

    hilalkoyuncu.com/IMG_3092.MOV

     
  • hilalkoyuncu 9:47 pm on April 18, 2011 Permalink | Reply  

    New Prototype, new character… 

    He doesn’t have a name yet but my new toy is heart broken. You keep him company, listen to music with him, talk to him,
    dance with him, hug him… help him mend his broken heart.

    I have been building him since saturday, non stop. I still couldn’t close him up yet but I made huge progress.

    My code is in place as well but, I will most likely modify it based on user testing which I was supposed to start today but unfortunately I need one mpre day to fully establish my enclosure.

    Here are many many pics and videos of my new prototype:

    (More …)

     
  • hilalkoyuncu 9:56 pm on April 14, 2011 Permalink | Reply  

    Prototype-2-progress 

    Here is a demo of what my toy can do:

     
    • andywallace 10:16 pm on April 14, 2011 Permalink | Reply

      I really like the interaction with the doll. And the sound for flatlining is great.

      As I mentioned in class, you may want to consider suing RFID tags for the various tools so that the user doesn’t have to fit them into tiny slots. sparkfun sells a kit: http://www.sparkfun.com/products/8419

    • catherine 10:16 pm on April 14, 2011 Permalink | Reply

      Hi Hilal,
      This is great progress. I really love the look and implementation of your prototype. You have awesome documentation and I can almost envision how the final prototype will look. Keep up the good work!

    • scottpeterman 10:20 pm on April 14, 2011 Permalink | Reply

      Yeah agree with andy about the rfid. very cool overall though! so excited for the final idea, I love how alot of the medicine you apply to the guy is kind of “kid” medicine, like the made up medicine that a kid would use when playing doctor. great stuff.

    • Victor Kim 10:21 pm on April 14, 2011 Permalink | Reply

      as far as seizing, I don’t think you can necessarily die or flat line from a seizure (at least I have never had that problem, thankfully).

  • hilalkoyuncu 9:32 pm on April 14, 2011 Permalink | Reply  

    Mini-Thesis Schedule of Hilal 

    14/04= create a game board for the toy, make three different games to user test by next class.

    Polish up the enclosure.

    18/04=  Play test games that were created. Research/ write drafts

    Make adjustments till next class based on feedback.  Polish up the enclosure.

    21/04= Play test games that were created. Research/ write drafts

    Make adjustments till next class based on feedback. Polish up the enclosure.

    25/04= Polish up all glitches in the code, hardware.

    Research/ write drafts

    Make adjustments till next class based on feedback.

    Finish up the enclosure, work on packaging.

    28/04= Research$Write, work on packaging.

    02/05=Research$Write,Write

    05/05=Research$Write,Write

     
    • Oylum 10:15 pm on April 14, 2011 Permalink | Reply

      It seems like you are putting too much work on 04/25. I think you can extend the finish up everything 04/28 or even 05/02 to give yourself more room for final touches.

  • hilalkoyuncu 8:47 pm on April 11, 2011 Permalink | Reply  

    Moving on with physical prototype 

    Here are a “few” images of my prototype.  My code is working 80%. I am hoping to do a few adjustments to the code and playtest it during class. His name is “hipster toy” but you have probably never heard of it.

    This slideshow requires JavaScript.

    (More …)

     
    • breegeek 9:34 pm on April 11, 2011 Permalink | Reply

      definitely looks hipster tastic. You could have him wearing bulky headphones and use those to house speakers…

    • scottpeterman 10:03 pm on April 11, 2011 Permalink | Reply

      Hey this looks great! Love the little blue jeans, very cool.

    • Behnaz Babazadeh 10:12 pm on April 11, 2011 Permalink | Reply

      Love the stache, its definitely hip with the hipsters. His expression is a bit strange but maybe thats what your going for … maybe less black around the eyes and instead put a eyeglasses frame on him, the thick black ones 🙂

  • hilalkoyuncu 10:25 pm on April 7, 2011 Permalink | Reply  

    Prior art/ reframing the concept 

    Prior Art:

    http://www.youtube.com/watch?v=e5psNItY-f4

    Concept:

    I decided to reframe my concept.

    My game is going to be aimed toward adults and the diseases that the toy will display will be ones that I will create based on contemporary afflictions of technology. An example of diseases would be “facebook fever”. I am still researching though, hopefully will come up with interesting conditions.

    I will most probably barrow the game mechanics of “the operation”.

    I built most circuits and coded the interactions (sound and visual feedback) and  there are some glitches that I would like to work on.

    Hopefully I will have a working first prototype in the next session.


  • hilalkoyuncu 6:12 pm on April 4, 2011 Permalink | Reply  

    Whole New Mini-Thesis-Flatliner-V2 

    I decided that my energy project will take more time than we were given so I will be continuing it in the summer.

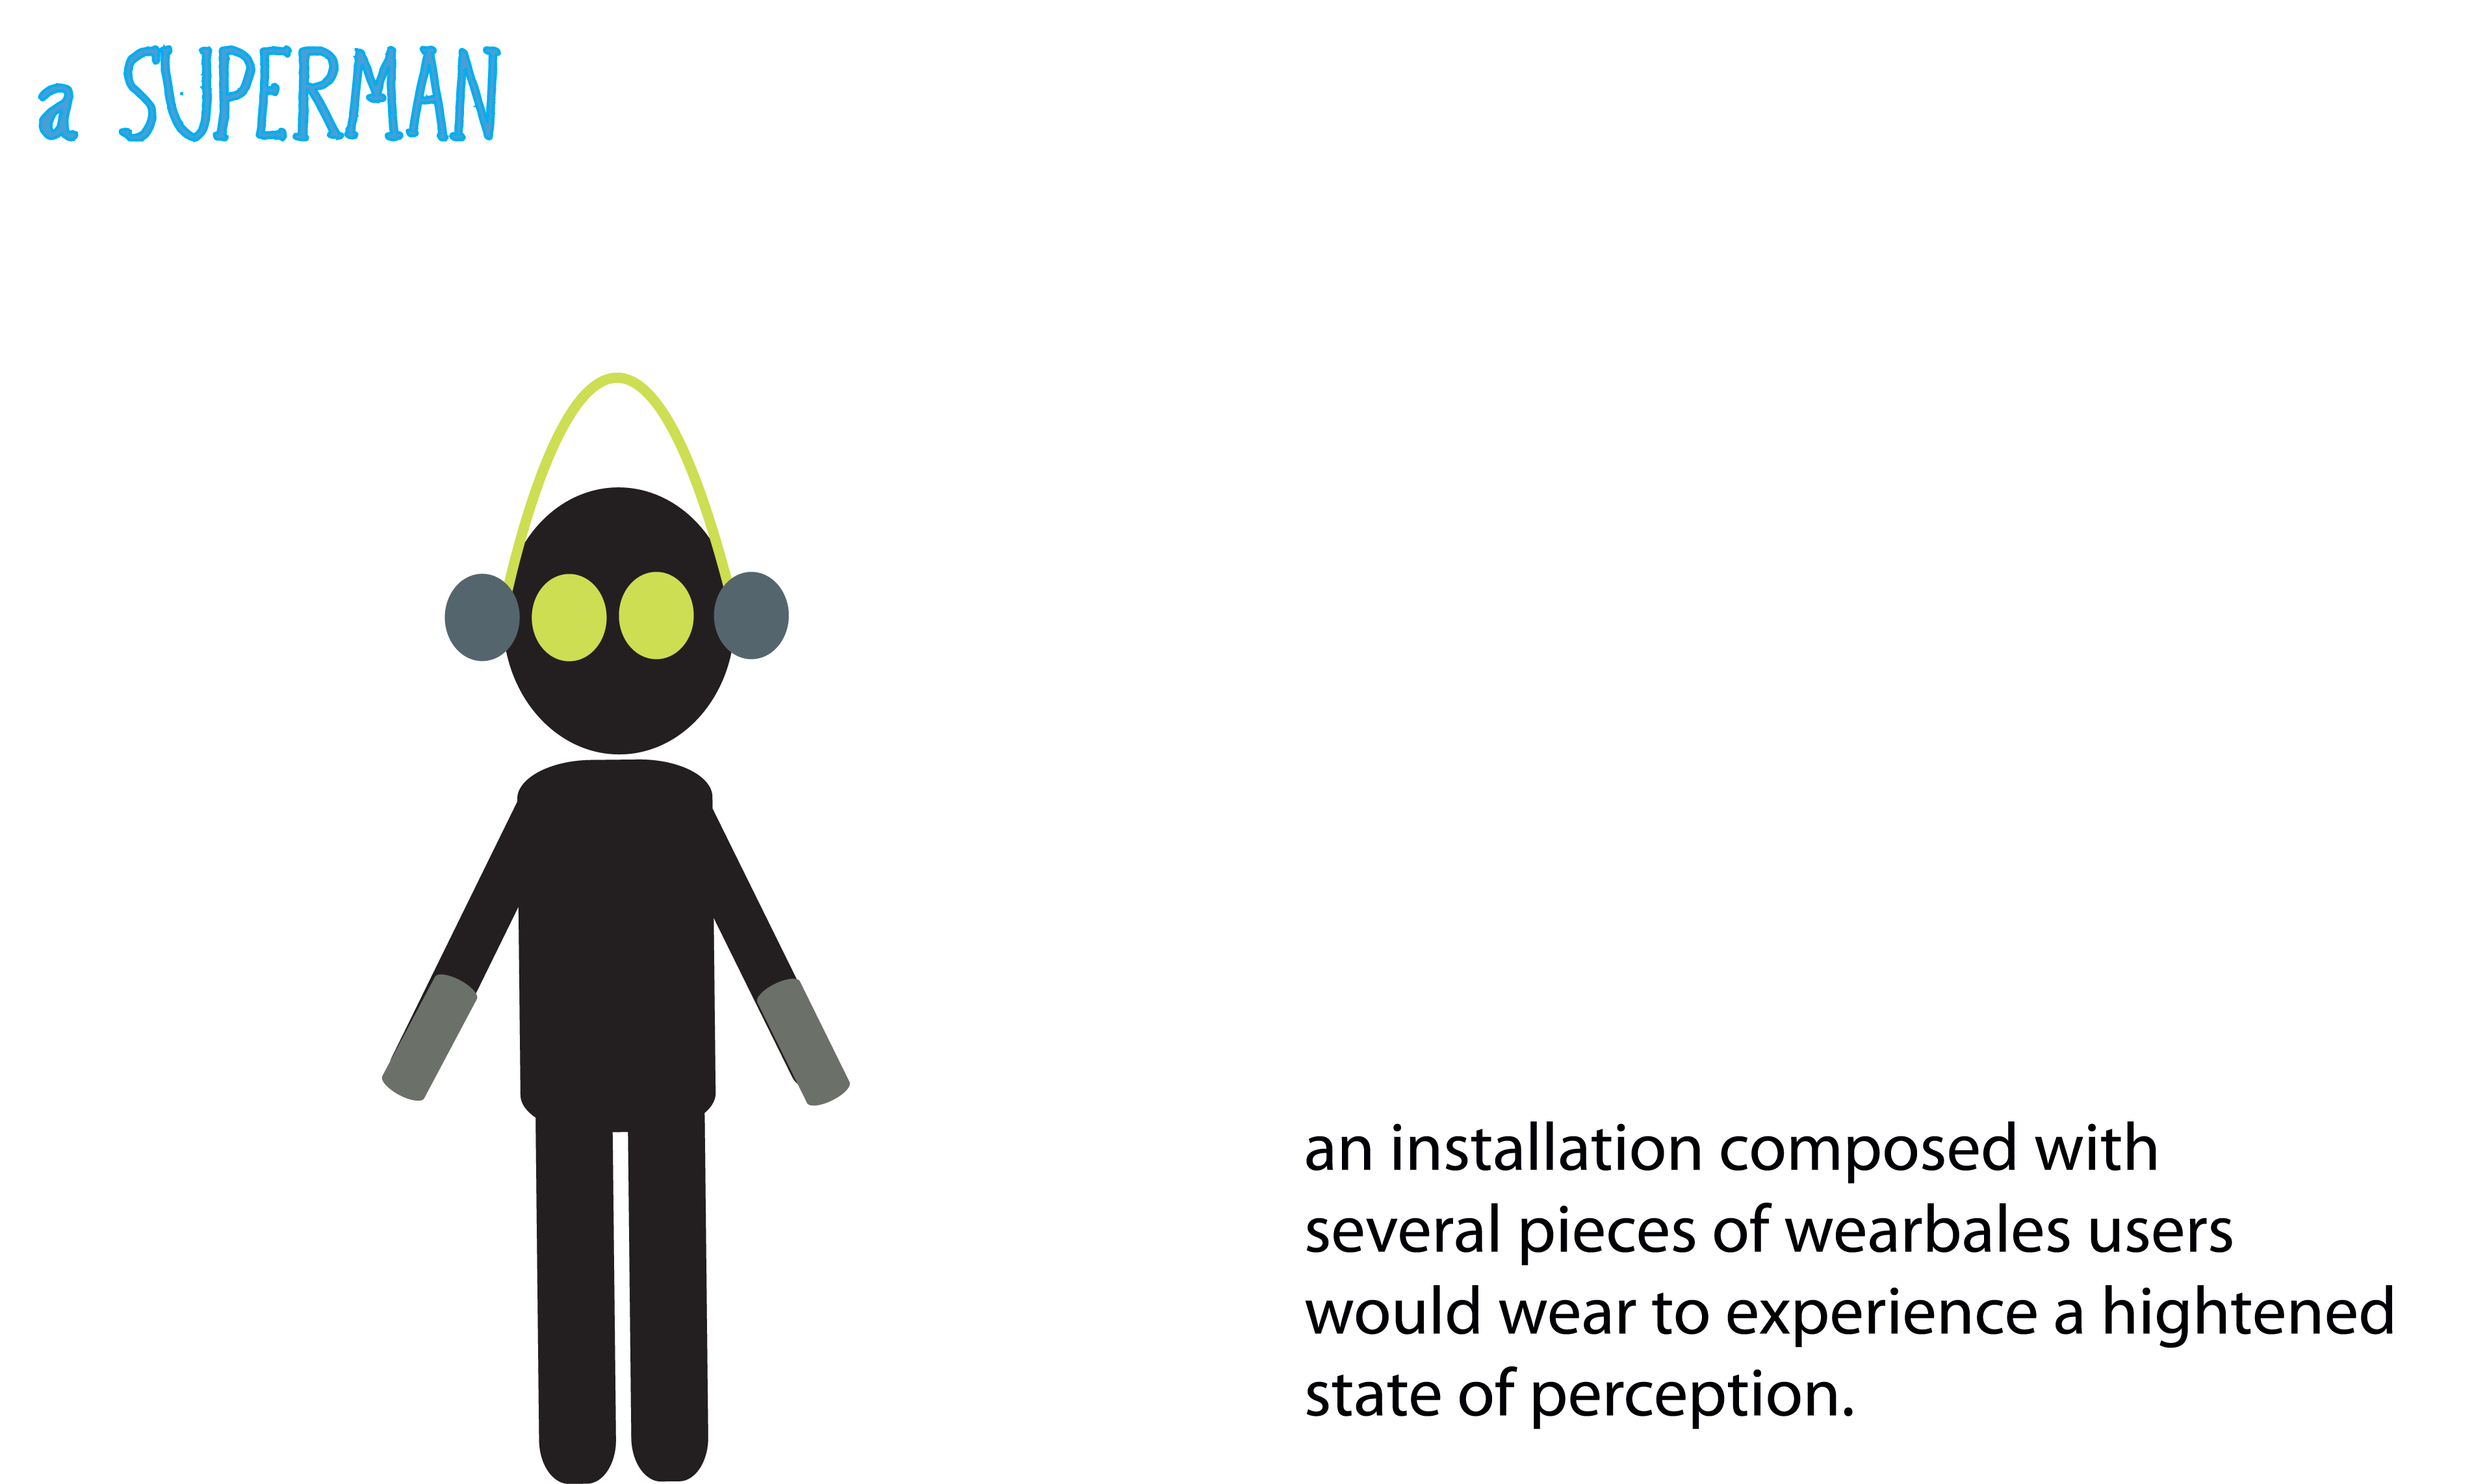
    My alternative idea was to design one of my blue sky ideas, the wingman which requires biofeedback.

    I have been working on making all kinds of biosensors this weekend, the problem with them is that the resolution is pretty low and it will take me a long time to fine tune them. Hence that project will have to be completed later in the summer as well.

    My final decision for my mini thesis is to enhance a little toy I made earlier in the semester.

    I called it the flatliner because it’s heart stops very frequently. The user has to give the toy a heart massage to get him to come back to life. here is a demo video:

    http://www.youtube.com/watch?v=vfGJv4WCoX4

    All the user tests that I ran on this toy were very succesful, the users were engaged and interested.

    I would like to add more sensors and feedback mechanisms to this toy in order to make it even more interactive.

    I will be creating a patient character who will exibit various symptoms such as; head aches; seizures, heart arrythmia,stomach aches, fever, bleeding etc.

    The user will be provided with a set of tools such as; a the

    rmometer, a stethoscope to be able to diagnose the patient.

    The user will also be alerted by a vitals monitor and a pager.

    Depending on the symptoms the user will treat the patients with medication, via a syringe and other tools.

    The goal of this project is educating the user on health via entertainment.  The target users would range from 9-12.(subject to change)

    Here is some prior art;

    http://niceapparelshopsite.info/melissa-doug-doctors-role-play-costume-set-kids-toy-4839.html

    Role playing games are very entertaining and engaging to children. I am hoping to achieve this effect with my design.

    Here is a picture to demo look and feel for the toy:


    and the accessories:


    These are the parts that I will to implement it:

    This is my whole new domain map:


    • Oylum 8:21 pm on April 4, 2011 Permalink | Reply

      Hilal,

      There’s a student project like this, done in Yury’s major studio before. Actually, Mike Edwards and his team did it. You know him, right?

      Here’s the link to it:

      http://yg.typepad.com/majorstudio2/2007/04/trama_bear_help.html

    • hilalkoyuncu 11:21 pm on April 4, 2011 Permalink | Reply

      The look and feel is misleading, it looks like a dental health game.
      Do not focus too much on education, focus on play.
      You do not necessarily have to simulate the hospital environment.
      Read “einstein didn’t have flashcards”
      It is not a good enough reason to switch out projects because they are time consuming.

  • hilalkoyuncu 10:13 pm on March 31, 2011 Permalink | Reply  

    Protoype triangle for green energy 

     
  • hilalkoyuncu 9:46 pm on March 31, 2011 Permalink | Reply  

    3 New Prototypes and Updated Domain Map 

    How can we design an interface that is fun and engaging to generate green energy ?

    This is a very big puzzle. I would like to explore piezoelectric materials to implement the idea however, there are some technical problems that need to be solved.

    I would like the interaction to be playful and engaging. I thought a public installation  would be a good opportunity to create this effect.

    I am still working on small prototypes and exploring new avenues for the interface.


    http://www.youtube.com/watch?v=2lXh2n0aPyw


  • hilalkoyuncu 10:06 pm on March 28, 2011 Permalink | Reply  

    9 prototypes 

     
    • hilalkoyuncu 10:09 pm on March 28, 2011 Permalink | Reply

      It was very hard to come up with implementations of my two ideas. They were feasible but they required a lot of research and knowledge and I did not have enough time to do the right research.
      Once I figured out a way to implement the idea, it was relatively easy to put the circuits together.
      Knowing were to go was the key for me to create my prototypes.

  • hilalkoyuncu 9:11 pm on March 24, 2011 Permalink | Reply  

    6 ideas to change the world 


  • hilalkoyuncu 8:15 pm on March 21, 2011 Permalink | Reply  

    Emotion Catcher+ Bathroom Electricity Minder 

    Originally I wanted to make a GSR sensor and connect data from my self. I was just going to wirewrap the sensor to the XBee and use a lithium coin battery and wear it. I tried it in many different ways but the connections were not secure.

    So I had to go with the bulkiest possible(most durable) version(below):

    It was pretty heavy but I spent 10 hours in it, mostly sleeping.

    The data I collected was fluctuating a lot so for the sake of accuracy, aesthetics and time, I had to put this project in the back burner.

    Instead I collected data from our bathroom. By using my towel spy from the previous bathroom project, I collected data that was triggered by a light sensor, indicating wether the bathroom was occupied.

    I calculated how much “time=money ” we spend merely by being in the bathroom based on our ConEd Bill.

    ( 0.0003 cents/sec lighting a 100watts bulb). I saved the data as string on a text file and visualized it realtime:

    I have used three 9V batteries and finally got a wall charger and added my arduino in the box via which I supplied the device with power cause I didn’t have another XBee USB cable.

    For me this visualization was  very effective based on the reactions of my roommates. Seeing numbers directly seems to have an impact on the user.

    I had many many disconnections over the course of three days.

    The reasons were:

    -battery died.

    -someone dropped the towel.

    -my computer shut down.

    -my coordinator Xbee got disconnected.

    -overwrote the collected data by rerunning the Processing sketch.

    Things I have learned:

    -Don’t rely on a computer, use an ethernet shield or a data logger via arduino to collect the data.

    -Power up the device with a wall charger (have an extra XBee cable to attach the device to it!)

    -Secure the device firmly so it wont get disconnected in anyway.

    Here is a demo video of the process:

    and Here is the code:

    (More …)

     
  • hilalkoyuncu 6:58 pm on March 7, 2011 Permalink | Reply  

    Bathroom Psychic & Towel Spy 

    My devices were supposed to look a little different but I thought I could communicate the same idea with other alternatives.

    My  devices are the bathroom psychic who could tell by the (temperature, light and time) what kinds of activities are going on inside the bathroom. Both devices communicate the information with both visual and auditory feedback.

    The bathroom unit is the Towel Spy, he kind of “hangs” in the bathroom an keeps an eye on what’s going on.

    Both devices have buzzers. Additionally, the psychic has a push button  to set off the buzzer on the towel, this can be used if the user is in a hurry to get in the bathroom.  The buzzer on the psychic is an auditory feedback to let the user know that the bathroom  is vacant.

    I borrowed the facial expressions from Andy and Min Ho’s “fridge friends” since I didn’t have enough time to create the ones that I planned to have.

    Please watch the case study video and please do not make fun of my acting skills:)

    Grazie

    Bathroom Psychic—-


    Towel Spy——-

    http://vimeo.com/20753191

    Vimeo is being crazy so here is a youtube link:


  • hilalkoyuncu 9:31 pm on March 3, 2011 Permalink | Reply  

    Romantic Lighting Sensor with Feedback(Exercise-2) 

    You keep the exact same wiring as the first exercise.

    • Additionally, you will add an LED to pin 19 of the Sensor Breadboard.


    • Configure your Router XBee:

    +++

    ATD14(To put pin 1 in low digital output mode, LED.)

    ATWR(To save the settings.)

    • Upload the second code that Kate posted to the base board Arduino.

    You will get this:

     
c
Compose new post
j
Next post/Next comment
k
Previous post/Previous comment
r
Reply
e
Edit
o
Show/Hide comments
t
Go to top
l
Go to login
h
Show/Hide help
shift + esc
Cancel