Recent Updates Page 61 Toggle Comment Threads | Keyboard Shortcuts
-
Yury Gitman
-
Yury Gitman
-
Yury Gitman
:::Places or events that I would like to submit my work to:::
:::Interactivos:::
:::Pictoplasma:::
:::Designmai:::
:::Piksel::: -
Yury Gitman
-
Yury Gitman
-
Yury Gitman
Places I want to apply to
Here are the conferences that I intend to apply to:
-
Yury Gitman
:::RBBB – Really Bare Bones Board – Freeduino – Arduino-Compatible:::
While putting together my first MapDuino, I was wondering if there may be a less messy way and also a visual guide to identify where the different pins are located when connecting all the components together and later when connecting the rest of the circuit to Mapduino. I met Zach and Nate from ITP this weekend and this is what they recommended. They just ordered some for the first time so did not know how reliable this boards are. Though they seem they would be a great option for Lilipad and an easier way to assemble your MapDuino.
Anyways, here is the info:
"This is a mini board designed for those experimental applications
that require small processors, such as wearable computing, near space
experiments, toy prototyping, artist's projects or any use for a fairly
small microcontroller."
they also sell kits and assembled/tested RBBBs
here is the link: -
Yury Gitman
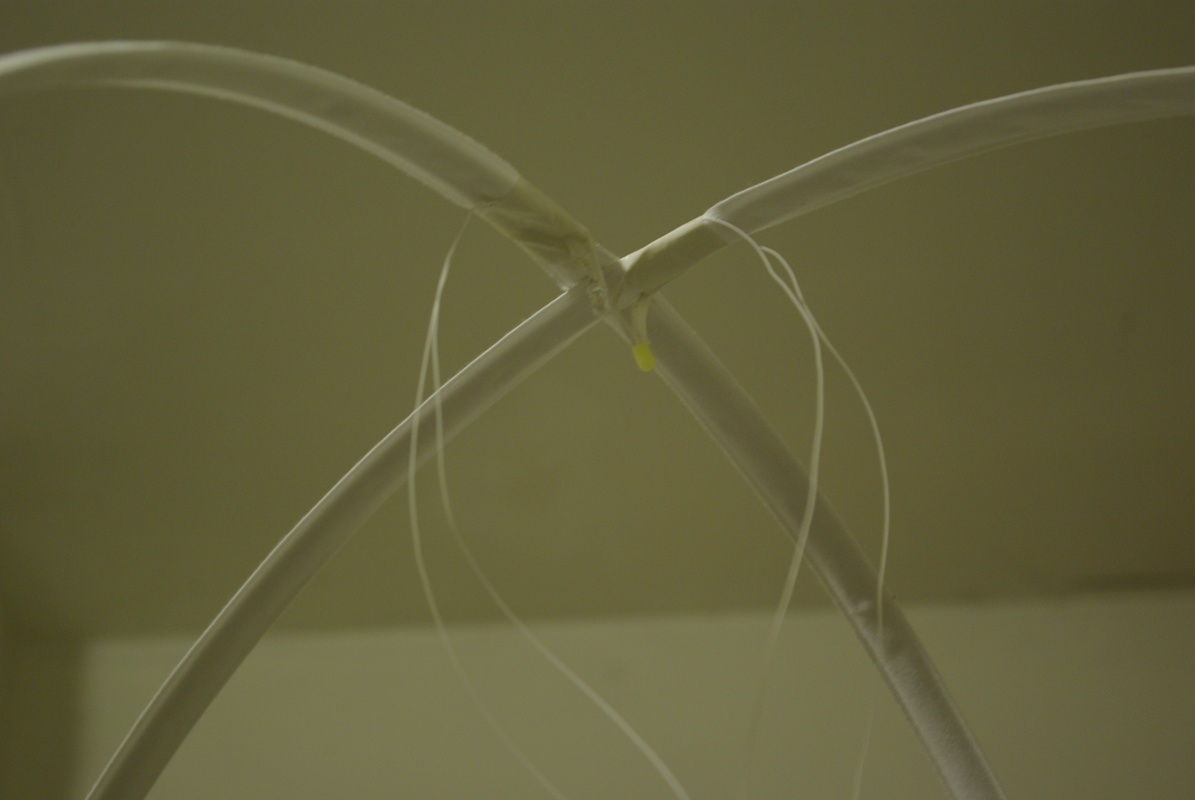
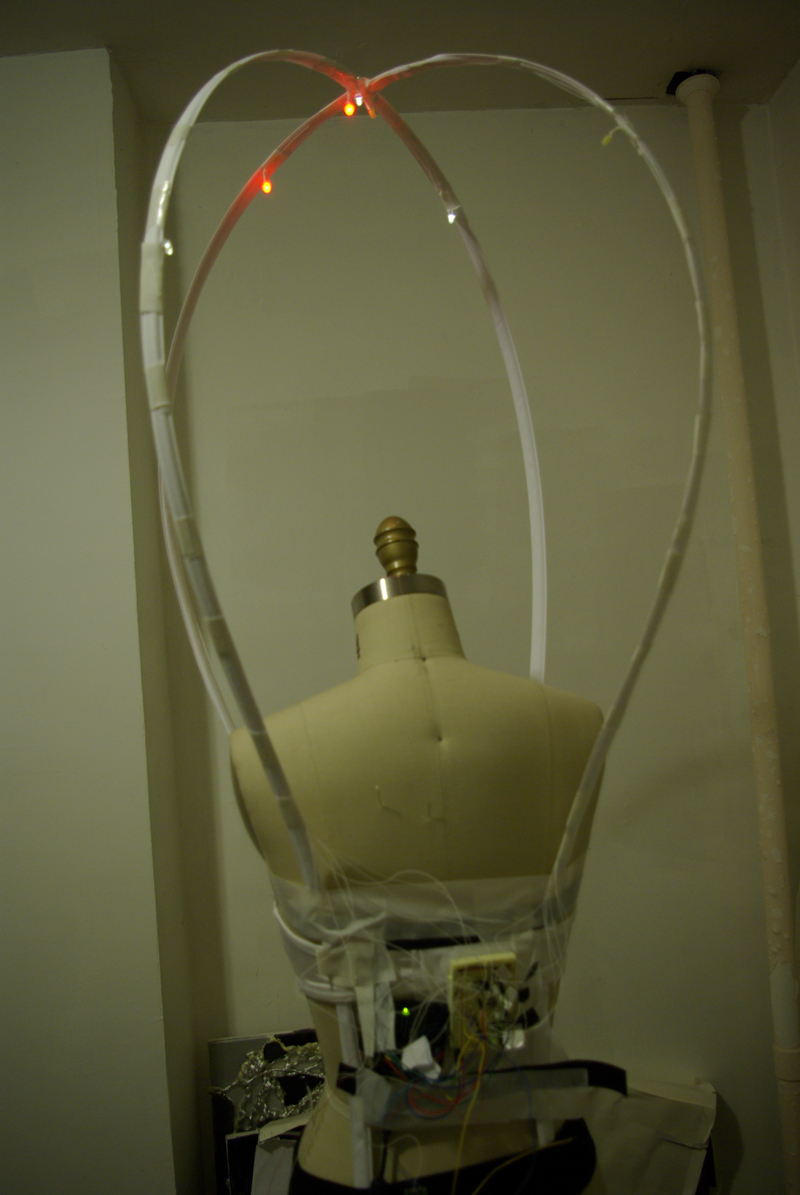
myriam – balloon girl structure
As a visualization of the dancer while performing, I had to review the light effects for my conceptMichelle has a microphone in her mouth in the end of the performance: the warm white Leds will be fading on and off with her breathing the whole time.Then, when she or Zack triggers the conductive spots on her bustier, cold white or red Leds will turn on or off. Their fading will visualize the x and the y axis of the accelerometer placed on Michelle.I started building the structure with the help of Sah,a fashion designer.I decided to focus on the balloon itself and not on on the rest of the costume. I want the structure to be adaptable for other shows.For this first prototype, I bought a simple white bra, boning and fabric to cover the boning so that we can saw it on the bra.
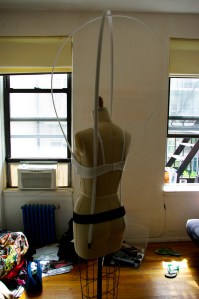 For now, I simply taped the arduino and breadboard on the back of the form. I want to test out the light and positions before programming it on the Lilypad.
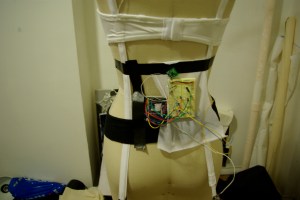

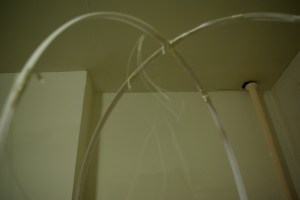 I used white tape to integrate the Leds on the boning.
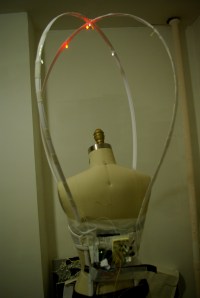
Balloon Girl test 1 from maryam aboukhater on Vimeo.
This is an overview of the concept. The code still needs to be improved.You can look at the code for now here.
Next steps:– put the fabric on the structure to see the light effect.– if needed, add more Leds.– build the circuit and program on the Lilypad. -
Yury Gitman
-
Yury Gitman
Latest prototype of the constellation skirt
Here's a view to the inside of the skirt. The conductive thread was encased in a tube of zigzag stitching for insulation purposes. The little purple pads are sewable lilypad LEDs.

Here's a demo of the intermittent light effect created by a weak connection:
-
Yury Gitman
-
Yury Gitman
Morning Monster — AHHHH!!
Summary: The Morning Monster is a plush electronic alarm clock. He has all of the normal alarm functions, set time, set alarm, snooze, etc. However, what makes him a monster is his ability to shine the sun on your face when the alarm goes off by opening the blinds, unfortunately in the video, it is night time and pitch black outside. The blinds are also manually controlled my moving his left arm (our right) up and down. Don’t worry, he knows where the blinds are, so if you hold his arm in one direction, he will never over-crank the blinds. GRR–.
Morning Monster from Nick Hardeman on Vimeo.
Breakdown: The clock hour and minute are set by pressing his top teeth, while the alarm hour and minute are set by pressing his bottom teeth. The alarm is activated by pressing his nose (I have to sew a white X on). There is functionality for the snooze and it works by giving the sleepy head 15 more minutes of bliss, but I have not added the capacitance touch to activate it yet, its wired inside and the code is functional.
He controls the blinds with a flex sensor in his left arm (your right). Moving it up or down opens and closes the blinds. He keeps track of the blinds so that they will not be over-cranked and so he knows how far to rotate to open them. So no matter where you open the blinds manually, by moving his arm, when the alarm goes off, he will open them to the correct position.
He talks with the blinds via wireless communication through an RF transmitter and receiver with a protocol that I wrote. He has an antenna inside him and the range is good, even through the material. There is a receiver in the little black box in the window, with a blue antenna that translates the signal and activates the blinds.
The monster and the blinds are powered by plugging into the wall, that is what those little white wires in front of the blinds are in the video.
A piezo speaker makes an alarm clock sound when it goes off, but somehow there is no sound in the video, so you can’t hear me either.
The black box that controls the blinds houses a 12V stepper motor, driven by a h-bridge motor driver, a wireless receiver and of course, a MAPDUINO. I breadboarded all of this project for time and sanity sake. The stepper motor sits in a cradle created by two i-hooks so that it can move accordingly and can adjust to many angles when installing this puppy.
-
Yury Gitman
SOBEaR :: 85% finished


Here's SOBEaR, so close to being done::
Today I will add a coaster for the user's cup to sit on. The final step will be to properly calibrate the angles of turning for the pour, but this is just simple changing of numbers in the code.
of course, SOBEaR uses a MapDuino, the bare-bones version of the ATmega circuit from HackDuino, soldered on a PCB.
http://vimeo.com/moogaloop.swf?clip_id=4390451&server=vimeo.com&show_title=1&show_byline=1&show_portrait=0&color=&fullscreen=1
SOBEaR prototype v02 from j saavedra on Vimeo. -
Yury Gitman
:: The Shy Turtle :: (another prototype)
The Arduino, Servo Motor, and plexi-glass holder will all fit inside. It will be a tight fit with the power supply and the speaker but it should be doable. The Arduino and Servo will need to be secured inside of the box.
Ran into "trouble"… discovered I will need to have some sort of a way to push the head back out when the servo turns – fabric alone will not push head back out. Servo will be attached to a dowel which will be attached to a ball inside the head. The head will probably need to go inside of a "cup" of some sort so the fabric doesn't "stick" to the body fabric.

Wrote several iterations of melody code. Started with "Under the Sea" from the Little Mermaid. This didn't work at all! The melody didn't sound remotly like the tune from the movie. I figured that this may be because the melody uses a wide range of scales so I decided to try a different melody…

The sedond melody I chose, "Row Row Row Your Boat," was also a big fat fail. Eventhough this song is quite simple, it also uses a wider range than I was capable of achieving. I'm thinking I may need to use "Mary Had a Little Lamb" because that works and I need to work on the code / technical part of the head.

-
Yury Gitman
Morning Monster Showing Some Skin
I got to sewing this weekend and now the Morning Monster's skin is complete.

In addition, I also created a skeleton for him. The front of the device is hard and flat, but the sides and back have room for stuffing, so they should be softer, to a point.

I decided to go with a full Arduino for the skeleton because I think that wireless may take a while and I will need to be able to leave in the programmer, for efficiency. So I have to add the sensors in his arms and get the shades open next.
-
Yury Gitman
More prototyping – Constellation Skirt
This green circle is to be the electrical layer of the skirt:

Here is a map of how the 3 constellations will appear:
When they are connected:

Casseiopeia:

next steps
– add more breaks in the constellation circuits
– add Li+
-
Yury Gitman
-
Yury Gitman
Jnx prototypes
Look and feel

Materials:

Implementation
4 Flex sensors, a force sensor and an RGB LED. The LED changes color depending on how much pressure is applied to the force sensor or how much the flex sensors are bent – I still need to work this out in the code. Currently, the mp3's are triggered from the computer using Processing but eventually they will be triggered from the SD card on the Wave Shield.


Reply