Visualizing Data in Processing

From the last chapter of Getting started with Processing .
Click on the image above to see the animated gif of the different color / alpha values I played with.
From the last chapter of Getting started with Processing .
Click on the image above to see the animated gif of the different color / alpha values I played with.
Our group project, Oylum and I were interested in a pocket companion with a solid functional aspect to it. We settled on a cigarette box that would either encourages or discourages smoking. The concept will work with an LCD screen to output a “tamagotchi” character that will keep track of how often you have smoked with the use of a photocell sensor. The screen will also output messages as they pertain to time. There is also a speaker to output emotional sounds so that the user feels the character through the digital interface.


Used the LCD code provided to prepare the lcd for the project. Then we combined previous piezo code and photocell. Unfortunately, last night I was so excited about finishing rewiring that Code to be posted soon.
So this was quite a struggle! First couldn’t get api mode to work, then got it working with two arduinos and managed to fry one of them! But finally got it up and running. The duck lives in the bathroom and sends a signal to the alertbox (an old 60s clock) if the bathroom is occupied.

(More …)
My devices were supposed to look a little different but I thought I could communicate the same idea with other alternatives.
My devices are the bathroom psychic who could tell by the (temperature, light and time) what kinds of activities are going on inside the bathroom. Both devices communicate the information with both visual and auditory feedback.
The bathroom unit is the Towel Spy, he kind of “hangs” in the bathroom an keeps an eye on what’s going on.
Both devices have buzzers. Additionally, the psychic has a push button to set off the buzzer on the towel, this can be used if the user is in a hurry to get in the bathroom. The buzzer on the psychic is an auditory feedback to let the user know that the bathroom is vacant.
I borrowed the facial expressions from Andy and Min Ho’s “fridge friends” since I didn’t have enough time to create the ones that I planned to have.
Please watch the case study video and please do not make fun of my acting skills:)
Grazie

Towel Spy——-


Vimeo is being crazy so here is a youtube link:
So this project is more of an exercise than a creative endeavor. I have 2 xbees, a couple photo resistors, LED’s and a servo. What can I make with that?
I really focused in on the servo because it’s been in my toolkit for months and I’d yet to use it to actually make something move. This sparked the idea of analog public bathroom occupied signs. Now I know there’s no practical reason those switches should ever be replaced with digital wireless technology, that’s some crazy overkill, but the idea of making one of those analog style rollover signs seemed like an interesting exercise. I set about figuring out how something like that would work.
First I looked into what kind of range my servo had because that would determine to a great extent the limitations of the design. The spec sheet says 90 degrees, but I found it could do about 110 degrees, I decided to split the difference and make my window 100 degrees.
Next I choose an enclosure and measured the workable space I’d have and scaled my cutout window to it and then that determined how large the rotating sign could be. When the sign is vacant the hidden occupied portion needs to clear side and bottom of the enclosure.
Now it was just a matter of building my circuits.

At this point I decided to add some LED indicators as well in case the lights were off / could act as an ambient notification. It was time to test it out.
and testing out the range.
and my girlfriend though it was funny as well.
Here is a super simple casing for the “lights-on/off” sensor system for bathroom occupancy…
I imagine ") it in a frat house somewhere.
it in a frat house somewhere.
After working on the very simple premise of making a photo-resistor-dependent thingamagig, I seem to have killed my Xbee. I have NO idea how it happened, but Xctu can no longer talk to it :(. I am at a loss as to what killed it, but I am suspecting my bad luck lately with these things.
It might, of course, be his fault…

My roommate is always frustrated with the rest of us making it into the bathroom before she does. Here is a remote bathroom occupancy system that can keep her in bed and happy. By utilizing the romantic light sensor workshop from last week, I was able to achieve the wireless communication between my two Xbees. The router is in a soup container placed inside of the bathroom and the coordinator is in a box by her bed side with two icon lights that allow her to know if the person has left, is only using for 5 min or for longer (taking a shower).
Download the processing sketch:
Download the library:
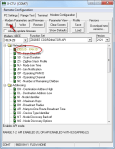
We will show you how to implement this library in class.
There are two possible ways to build the circuit for tomorrows class:


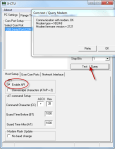
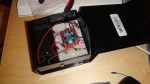
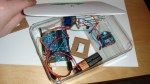
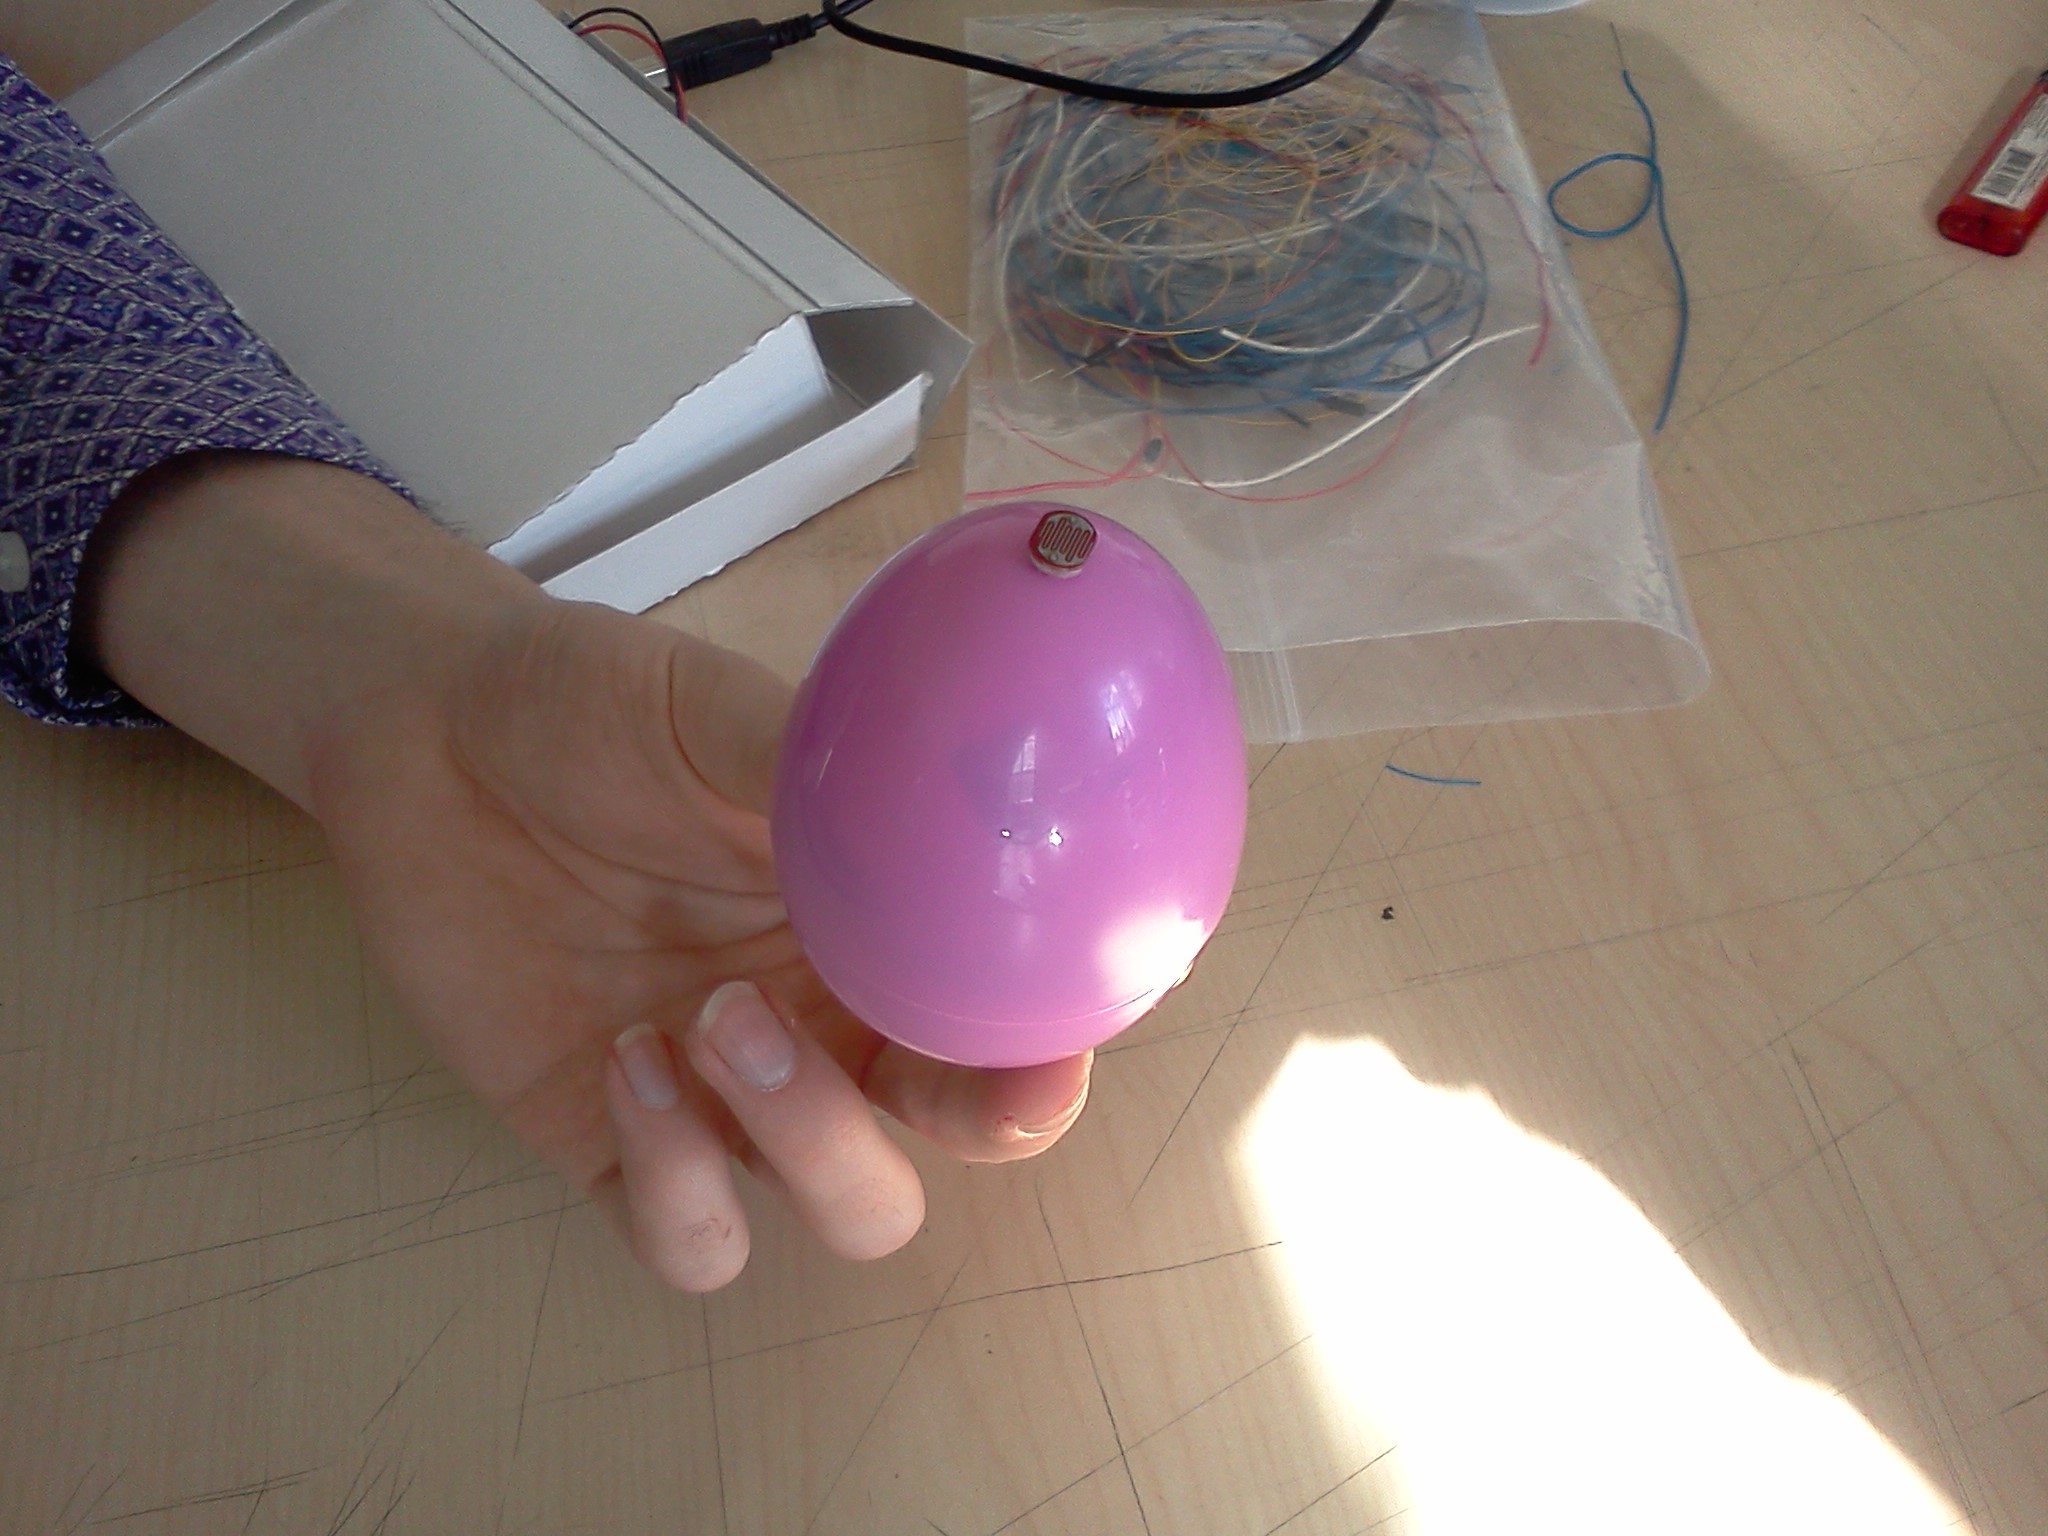
 The Christmas Intruder Alert system is a wireless device lets parents know if their kids have been peeping in the present stash. A small egg is set up with the presents that is sensitive to light. When there is light, a remote unit will show that the space has been breached. This warning light will stay lit until it is reset by the parent.

It’s that simple! And now you can know when your children are trying to spoil the magic of Christmas!
Proper write up by Thom Hines: https://makingtoys.net/2011/03/03/hostile-interaction-mediator-doorbell/

First time
The first time anyone presses the button a green light turns On and plays a nice melody. This way the user will know the bell worked.

Second Time
Usually the bell is pressed twice after sometime waiting, this is Ok and the Doorbell will tell the user that it worked, but a warning color and tone will be given to the user.

Third Time
This is the final notice, the user will now have to wait 5 minutes until he/she can press the button and get a signal. (a warning red color and angry tone will be given to the user).
With this tool, no one will dare to annoy you by buzzing your doorbell for long…or no one will ever visit you again!
Process


Source Code for the Receiver
#include <NewSoftSerial.h>
NewSoftSerial mySerial(2,3);

/*
doorbell basic DINGY!!
by Rob Faludi faluudi.com
*/

#define VERSION "1.00a0"

boolean dumpWater = false;
int water = 7;

long previousMillis = 0;
long interval = 5000;
int BUTTON = 5;
int counter=0;

void setup(){
  pinMode(water, OUTPUT);
  pinMode(BUTTON, INPUT);
  pinMode(13,OUTPUT);
  mySerial.begin(9600);
}

void loop(){
  //look for a capital D over the serial port and ring the bell if found
  unsigned long currentMillis = millis();
  if(currentMillis - previousMillis > interval&&dumpWater==true) {
    dumpWater=false;
    digitalWrite(water, LOW);
    digitalWrite(13, LOW);
  }
  if(counter>=300){
      previousMillis = currentMillis;
      dumpWater=true;
      digitalWrite(water, HIGH);
      digitalWrite(13, HIGH);
      counter=0;
  }
  if (mySerial.available() > 0){
    if (mySerial.read() == 'W') {
        //ring bell briefly
        previousMillis = currentMillis;
        dumpWater=true;
        digitalWrite(water, HIGH);
        digitalWrite(13, HIGH);
        delay(10);

      }
    }
    if (digitalRead(BUTTON) == HIGH){
     mySerial.print('R');
     counter++;
     //digitalWrite(13,HIGH);
     delay(10); //prevents overwhelming the serial port
    }
}
Source Code for the Sender Button
#include <NewSoftSerial.h>

/*
doorbell basic BUTTON!!
by Rob Faludi faluudi.com
*/
NewSoftSerial mySerial(2,3);

#define VERSION "1.00a0"
boolean dumpWater=false;
int BUTTON = 5;
int resetButton = 8;
int bell = 7;


void setup(){
  pinMode(BUTTON, INPUT);
  pinMode(resetButton, INPUT);
  pinMode(bell, OUTPUT);
  pinMode(13,OUTPUT);
  mySerial.begin(9600);
}

void loop(){
  //send a capital D over the serial port if the button is pressed
  if(dumpWater==false){
    digitalWrite(13,HIGH);
  }else{
    digitalWrite(13,LOW);
  }
  if(digitalRead(resetButton)==HIGH && dumpWater==true){
    dumpWater=false;
  }
  if (digitalRead(BUTTON) == HIGH){
    if(dumpWater==false){
       mySerial.print('W');
       //digitalWrite(13,HIGH);
       delay(10); //prevents overwhelming the serial port
       dumpWater=true;
    }
  }
  if (mySerial.available() > 0&&dumpWater==false){
    if (mySerial.read() == 'R') {
        //ring bell briefly
        //previousMillis = currentMillis;
        //dumpWater=true;
        digitalWrite(bell, HIGH);
        //digitalWrite(13, HIGH);
        delay(10);
        digitalWrite(bell, LOW);

      }
    }
}
by Leif, Chris, Oylum
code for the doorbell buzzer and doorbell bell
You keep the exact same wiring as the first exercise.

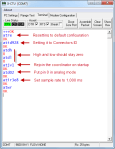
+++
ATD14(To put pin 1 in low digital output mode, LED.)
ATWR(To save the settings.)
You will get this:


Reply