Don Music
Snippets from my practice session for Don Music

wow! you rock!!!
On Yury’s advice, I put together a presentation that would adequately explain Tinker to a person unfamiliar with the project, and while I didn’t go through a specific user sceneario, I do call out developers and site owners in my narration, and describe how Tinker might serve them.
Other than that, I’ve been working on further ironing out technical issues (server file systems can be very convoluted, especially when you want to make a system plug-n-play), but I’m making progress. Each iteration I do addresses plenty of technical hurdles, but hurdles that probably < 10% of people would experience. That’s good, but I want this thing to be bulletproof.
Additionally, I created a site to house this project and to sell it a bit. The only way people will download Tinker is because they have a compelling reason, and this site’s focus is to make those reasons abundantly clear. As I release new versions, I’ll be posting them to this site, so you can always grab the latest here. Click on the link and try it out!


The Imaginary Marching Band is a series of open-source wearable instruments that allow the wearer to create real music simply by pantomiming playing an instrument.
As I mentioned last time in class, most of the work I’m doing from this point on is behind-the-scenes and addressing specific problems that I encountered in my user tests and the responses I got from some of my testers. Fortunately, I think I have already managed to capture most of the features I set out to do, and it seems each feature I try to add on opens up a new can of worms that only takes me further from my goal of having a ready to release project by next week.
The main concerns I was getting from people were that feedback wasn’t always clear when there was a problem, either in Tinker or on the server, and it basically leaves the user stranded. I’ve tried my best to find the main points of problems and give useful feedback through the feedback mechanism in tinker. If any of my calls to the server result in an error, Tinker will either present a user-friendly message (quite often just instructions to reload the page), or if Tinker doesn’t know what happened, give the user the PHP error that was generated. Dealing with server files can be tricky, and some people are finding issues that have never come up for me, so this may be something that evolves greatly over time.
The other issues I’ve been trying to address are some of the quirks of the interface itself. For instance, when a page has a link and the user clicks it, it acts just like normal text. The editor wants to give the user the option to edit the text of the link, but nobody could figure out how to follow the link to its target. For that, I created a small pop-up, similar to what you see when you click a link in GMail, that provides a clickable link to go to the destination. Other issues have to do with the image uploader, CSS class selector, and other options that aren’t clearly labeled or explained in the interface. I’m going to have to build in a help system, but that will be more than I can do this week.
All in all, most people don’t seem to be asking for any more features. This could be because most people haven’t had a chance to really try to practically apply it yet, but I’d like to think it also has to do with the fact that it does it’s fairly basic job well, and that most changes that people see are not much of a problem for Tinker.
Also, here’s the latest version of my presentation:
I’ve been knitting away!
I plan to user test tomorrow night or on my way home tonight.
My redefined thesis: Sound balls is an interactive and collaborative soundscape controlled by a set of smart balls.
Since my last update, a lot of my work has gone toward building the physical ball. I coated one in resin, sanded it and painted it, and am fairly pleased with the look and texture. The resin I am using provides a hard and paintable outer layer for the ball and does not block the signal at all. I had originally planned on sanding the ball smooth, but as I went, I realized I liked the wavy grain that resulted, so I left it a little rough. The only thing that needs fixing is the hideous seem that runs along the ball. I will either be covering it with tape and painting it over or possibly filling it with foam.

I’m extremely impressed with your writing skills and also with the layout on your weblog. Is this a paid theme or did you customize it yourself? whether way keep up the nice capability writing, it is rare to see a great blog like this one today.
dontflush.me is live! The site now contains the realtime data feed from pachube (when the sensor is running). I added the SMS registration feature and a New York sewer shed map courtesy of habitatmap.org. Everyone please register! I promise that I wont spam you!

It is hard to find familiar people within this issue, you be understood as you know exactly what you are referring to! Thanks a lot
This weekend I’ve been working on the charging circuit for the cell phone attached to the sensor. With the cell phone drawing about 160mA during charging I got about 3.5 days of charging out of the 3 d-cell batteries. I realized that there was a bug in my code that never turned the charging circuit off. Thats fixed now and I’m looking into adding some power regulation to the charge circuit to be able to use all the available power from the batteries as their voltage drops.
I also connected to sensor to the Pachube SMS beta! Thanks to Usman Haque and Ed Borden for getting that setup for me! The feed is live here: http://www.pachube.com/feeds/24004
In other news I’ve been thinking about a more accessible name for the project… SewerSense
Let me know what you think about that


Getting the balls into shape.
For this test, I created 4 working balls: two gyroscope bals and 2 accelerometer balls. Unfortunately, the battery for one of the gyroscope balls went bad just before I started testing, so I was only able to use 3. Here’s some info gleaned about each type of ball.

What went into each of the balls.
Hey guys, I bricked another xbee and found this helpful little bit on Instructables
1. Take the module out of the interface board.
2. Connect the interface board to the computer.
3. Open X-CTU make sure Baud Rate is set to 9600
4. Go to “Modem Configuration”
5. Put a check in the “Always update firmware” box
6. Select proper modem from drop down menu,
7. Select proper function set and firmware version
from drop down menus.
8. Click on the “Write” button. After a few seconds of
trying to read the modem, you will get an Info box
that says Action Needed. At this point, CAREFULLY
insert the module into the interface board.
9. You may get the info box again a short while after,
just use the reset button on the interface board.
I’ve been working a bit on coding the Glupet interface, but have come to the realization that I won’t really be able to test this thing with kids any time soon; only when there is a real online database they can play with or a portable toy.
To test the effectiveness of getting friendly reminders from your pet to check your blood glucose a certain number of times either with a mobile device or a portable device is improbable at this point. For instance, I don’t think most little kids have cell phones, and most parents would rightly not grant me permission to text them 4-5 times a day to tell them to log information into the glupets website. In order to test this with kids, I would probably need to build several portable devices or something that can upload user-input information online somehow.
I can, however, get some adults, perhaps, to test this for me. Not sure if that would show whether or not it would be an effective tool for kids.
I DID start building some look/feel sketches for how the world would appear. I will use these as possible user scenarios in my final presentations/paper Of course, I am calling the Glupy home planet: Glupiter.


Here is another random sketch, but I didn’t like it as much.

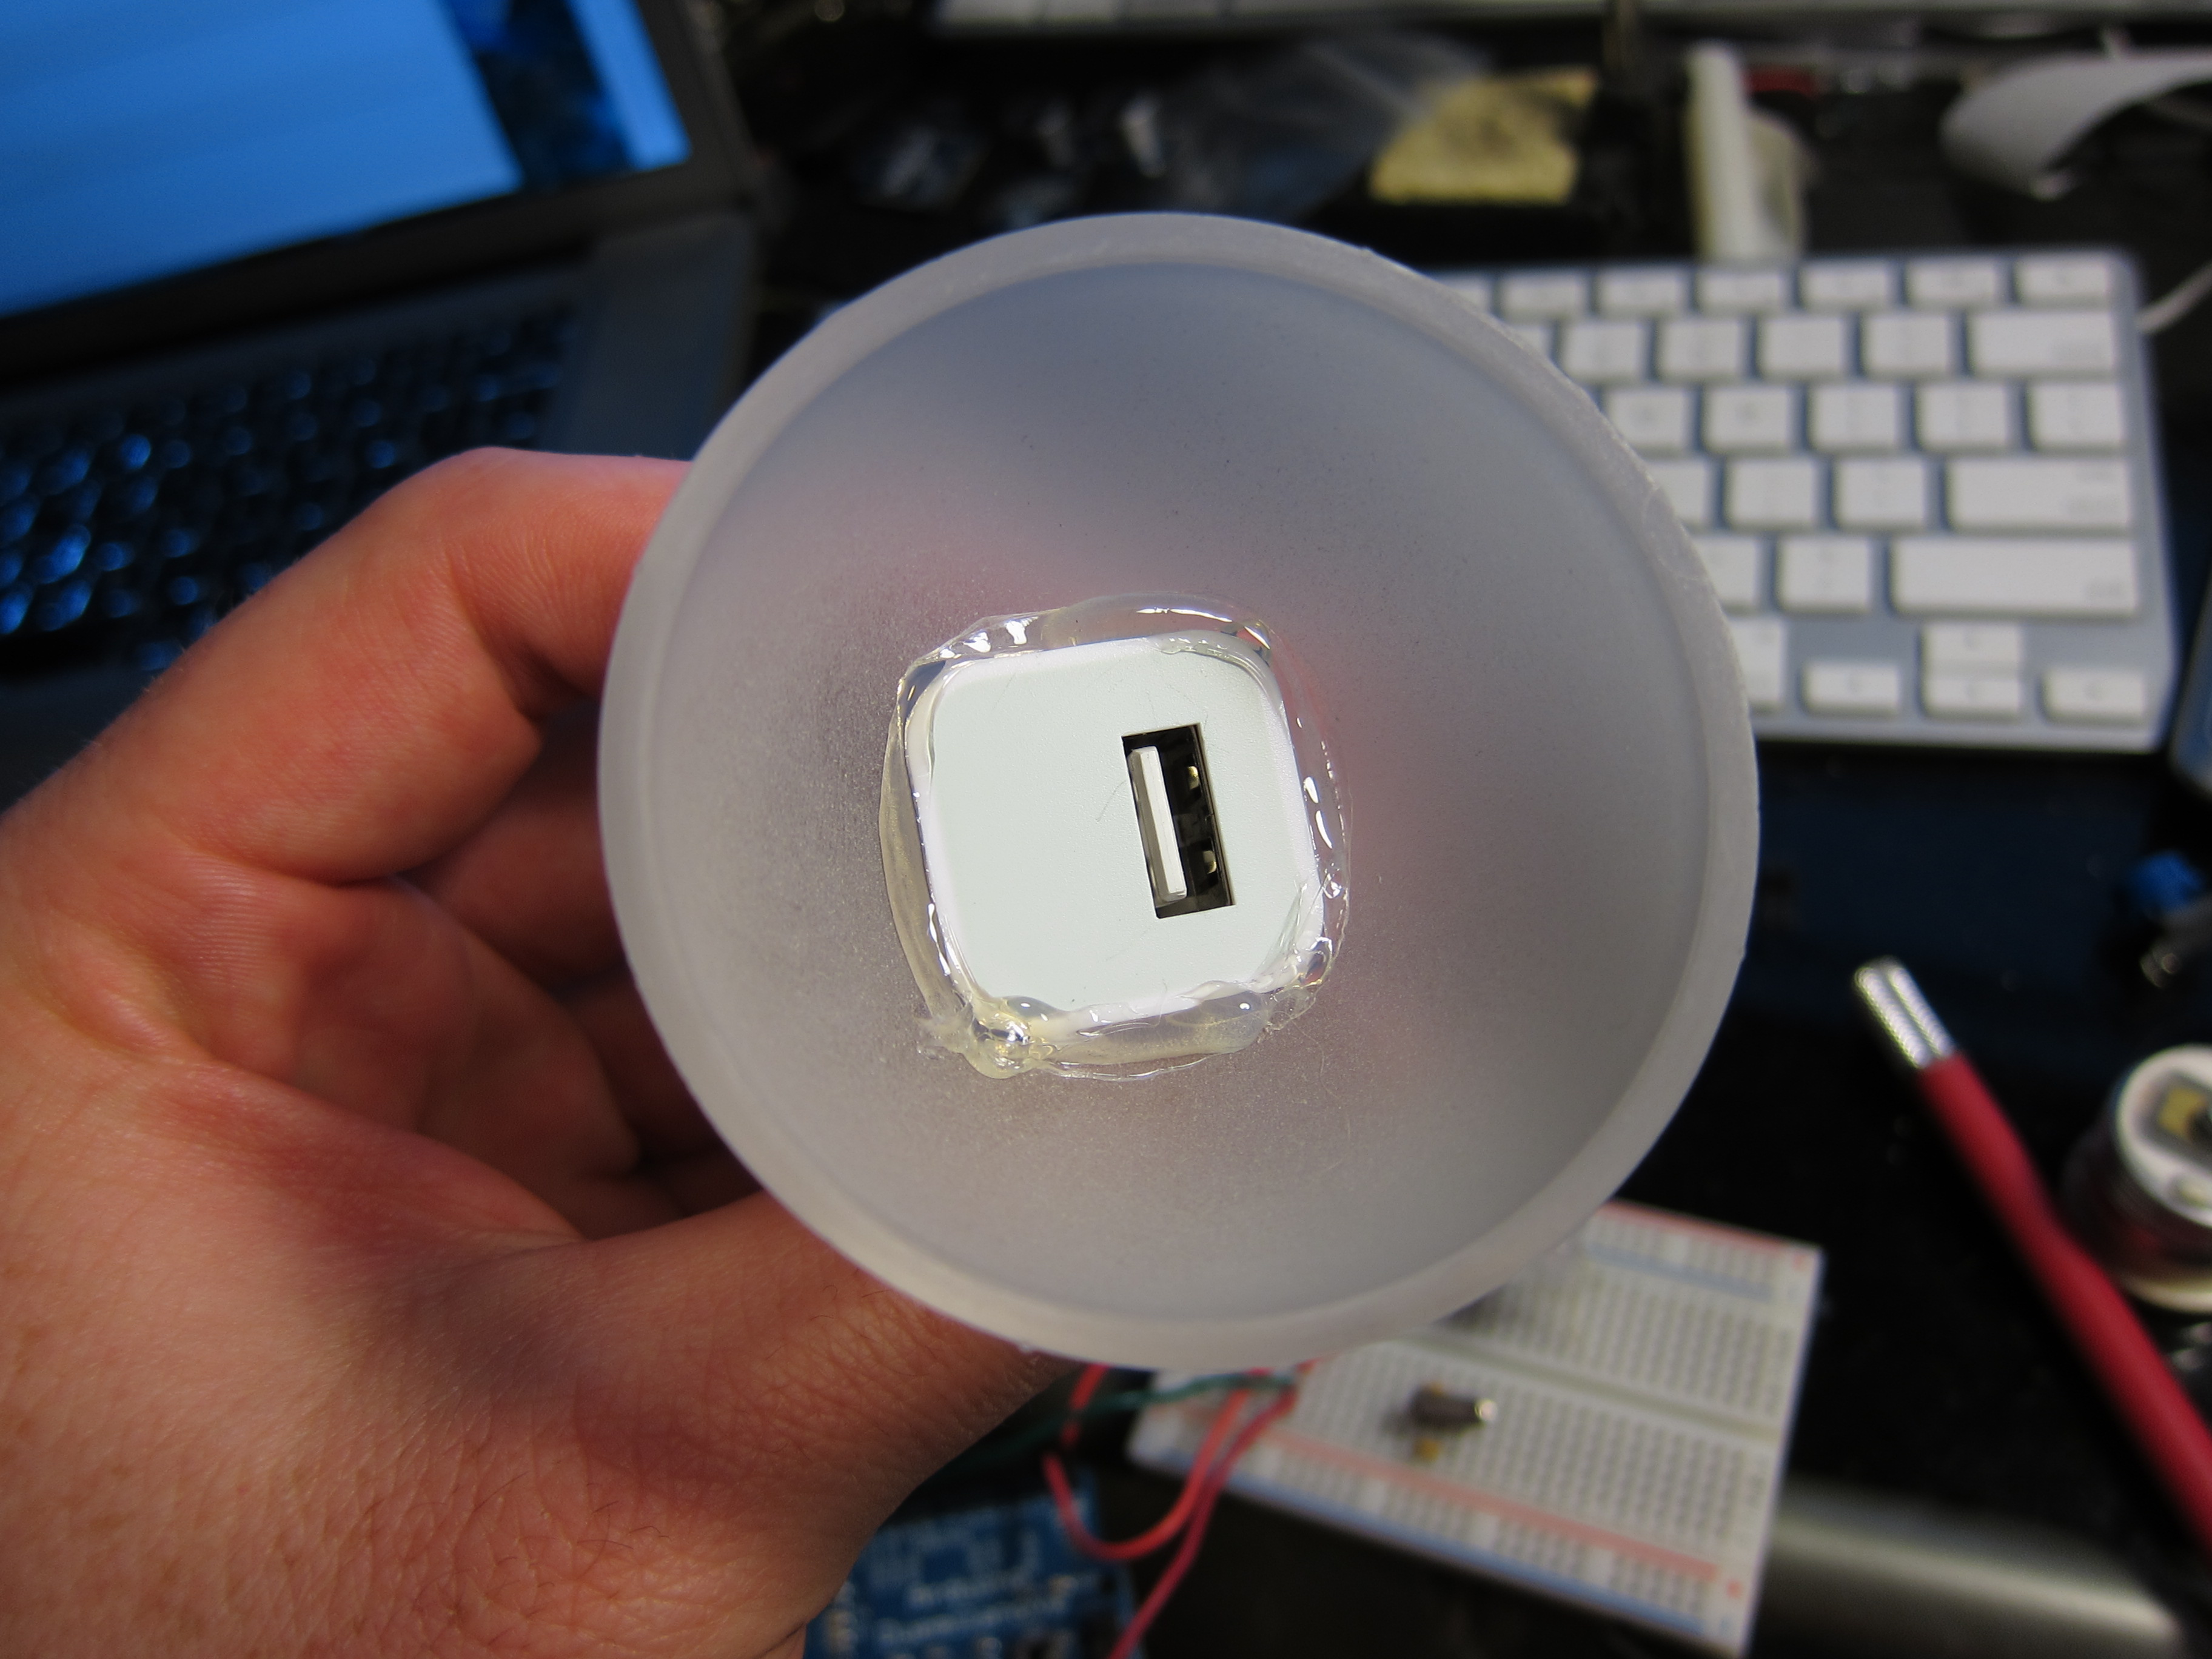
3 different breadboards… finally it worked but still having issues powering the mini arduino pro, for some reason it works with the USB connected but not with the power source.. will try a different battery today,, but Modulo and I have spent some long time together in the last couple of days…
in the other hand, I bought the paint and Im waiting (still) for the magnet so I can make the disks. Hoping to “finish” this weekend
The momentum behind the idea of internet connected lightbulb pushed me to get a prototype working. I decided to give the Twilio IVR system a try since their SMS system was super easy to get working. I found a blog post that outlined a lot of what I was interested in doing which made things much smoother. Props for the great projects there!
To get the whole thing small enough to fit into a 2 1/4″ sphere I needed to create a custom PCB. Getting the xbee to work with the arduino and Digi Connectport was super easy using Rob Falundi’s XIG python script.
The arduino code is available here, the php (mostly from the above blog) is available here, XIG (xbee internet gateway) is available here, the Fritzing file and Gerber exports are here.
I hope to get the bulbuino visualizing the data from my “Flush-o-meter” sensor sometime in the next week or so. Check out the “Flush-o-meter” here.


Bulbuino from Leif Percifield on Vimeo.


Reply