The Spine of Scapula / User Testing

http://vimeo.com/moogaloop.swf?clip_id=3828848&server=vimeo.com&show_title=1&show_byline=1&show_portrait=0&color=&fullscreen=1
The Spine of Scapula from Ira Goldberg on Vimeo.
http://vimeo.com/moogaloop.swf?clip_id=3828848&server=vimeo.com&show_title=1&show_byline=1&show_portrait=0&color=&fullscreen=1
The Spine of Scapula from Ira Goldberg on Vimeo.
I tested the Tweetlite on 2 potential users. They both thought the product was marketable, would appeal to the Twitter community and gave me some great feedback.
Here is a short video of two interviews with my roomates after I set up my project in our apartment for a couple days and they checked it out. Overall I think they thought it was interesting but would like to see it as more of a decorative object when not in use. I agree with this after living with it myself, and would like to investigate making it a bit thinner and making the shell a lot more high fidelity (molded rubber or 3D printing??). I also tweaked the animation sequencing a bit, still not happy with it completely but I think its getting there!
http://vimeo.com/moogaloop.swf?clip_id=3837057&server=vimeo.com&show_title=1&show_byline=1&show_portrait=0&color=&fullscreen=1
Speak to Me//Breathe User testing from Steve Varga on Vimeo.
I have updated the programming and buttons on this prototype. Thanks to our class feedback and The Laws of Simplicity by John Maeda, I decided to make the programming of sequences easier and with less steps. Now someone can walk up and push a button to start programming a sequence, wait 2 seconds to input that sequence and wait another 4 seconds to save the entire sequence. The prototype saves the last two sequences, with a pause in between sequences.
I also worked on the buttons to make them easier to press. The metal washers were not working consistently, so I made yet another trip to the hardware store and found some black rubber washers. These are good because they provide support all around the bottom of the button and contract a little bit to give a "push" feel to the button. I also backed up the pcb board with some wood pieces to support the board so that it does not break.


Check it out in action. The quality is crap cuz I am using a little web cam that has auto focus, so thats why it is annoyingly zooming in and out.
http://vimeo.com/moogaloop.swf?clip_id=3786028&server=vimeo.com&show_title=1&show_byline=1&show_portrait=0&color=ff9933&fullscreen=1
Passage of Time Final Integrated Prototype from Nick Hardeman on Vimeo.
Here is my final prototype for my LED Time Based project. I totally
reworked my project after a lot of user testing, and built everything
from the ground up. I spent a lot of time doing the woodwork/templates,
and the code as well.
Speak to Me/Breathe is a project that shows communication over time
by displaying my incoming email messages in Braille format on a large
LED driven interface. The project is both an exploration of Braille as
a visual 6-bit binary form of communication vs its normal tactile form,
as well as a commentary on information security and encryption. Now
that everything in the world is connected through the internet, is any
of our data completely secure? By displaying my emails in an encrypted
form, they are readily available for anyone to read if they put in the
effort to learn and use visual braille. For the most part my
information is secure because this is entirely too much work for a lot
of people, but those who are determined enough will ultimately be able
to read my mail despite the encryption.
http://vimeo.com/moogaloop.swf?clip_id=3616219&server=vimeo.com&show_title=1&show_byline=1&show_portrait=0&color=&fullscreen=1
Speak to Me/Breathe: Part 1 from Steve Varga on Vimeo.
http://vimeo.com/moogaloop.swf?clip_id=3616506&server=vimeo.com&show_title=1&show_byline=1&show_portrait=0&color=&fullscreen=1
Speak to Me/Breathe: Part 2 from Steve Varga on Vimeo.


For the final prototype I spray painted the inside of the cube to diffuse it some more and make it look more finished. I drilled holes in the back of the cube for the USB and power supply. The Arduino and LED are mounted on the inside. There are 3 programs/modes for the cube – 1 that fades the colors in and out with PWM, depending on the twitter feed and Morse code interpreted, 2 that does the same as 1 but without any PWM, 3 that is just a random pattern for use as a mood light.
Sales Sheets
Sales sheet – Long version
Sales sheet – Short version


http://vimeo.com/moogaloop.swf?clip_id=3619247&server=vimeo.com&show_title=0&show_byline=0&show_portrait=0&color=00adef&fullscreen=1
http://vimeo.com/moogaloop.swf?clip_id=3619234&server=vimeo.com&show_title=0&show_byline=0&show_portrait=0&color=00adef&fullscreen=1
http://vimeo.com/moogaloop.swf?clip_id=3619217&server=vimeo.com&show_title=0&show_byline=0&show_portrait=0&color=00adef&fullscreen=1
THINGS WILL NEVER BE THE SAME AGAIN,The beginning of a new era.
A frozen time when technology is taking over.


http://vimeo.com/moogaloop.swf?clip_id=4182586&server=vimeo.com&show_title=1&show_byline=1&show_portrait=0&color=&fullscreen=1
Things will never be the same again from maryam aboukhater on Vimeo.
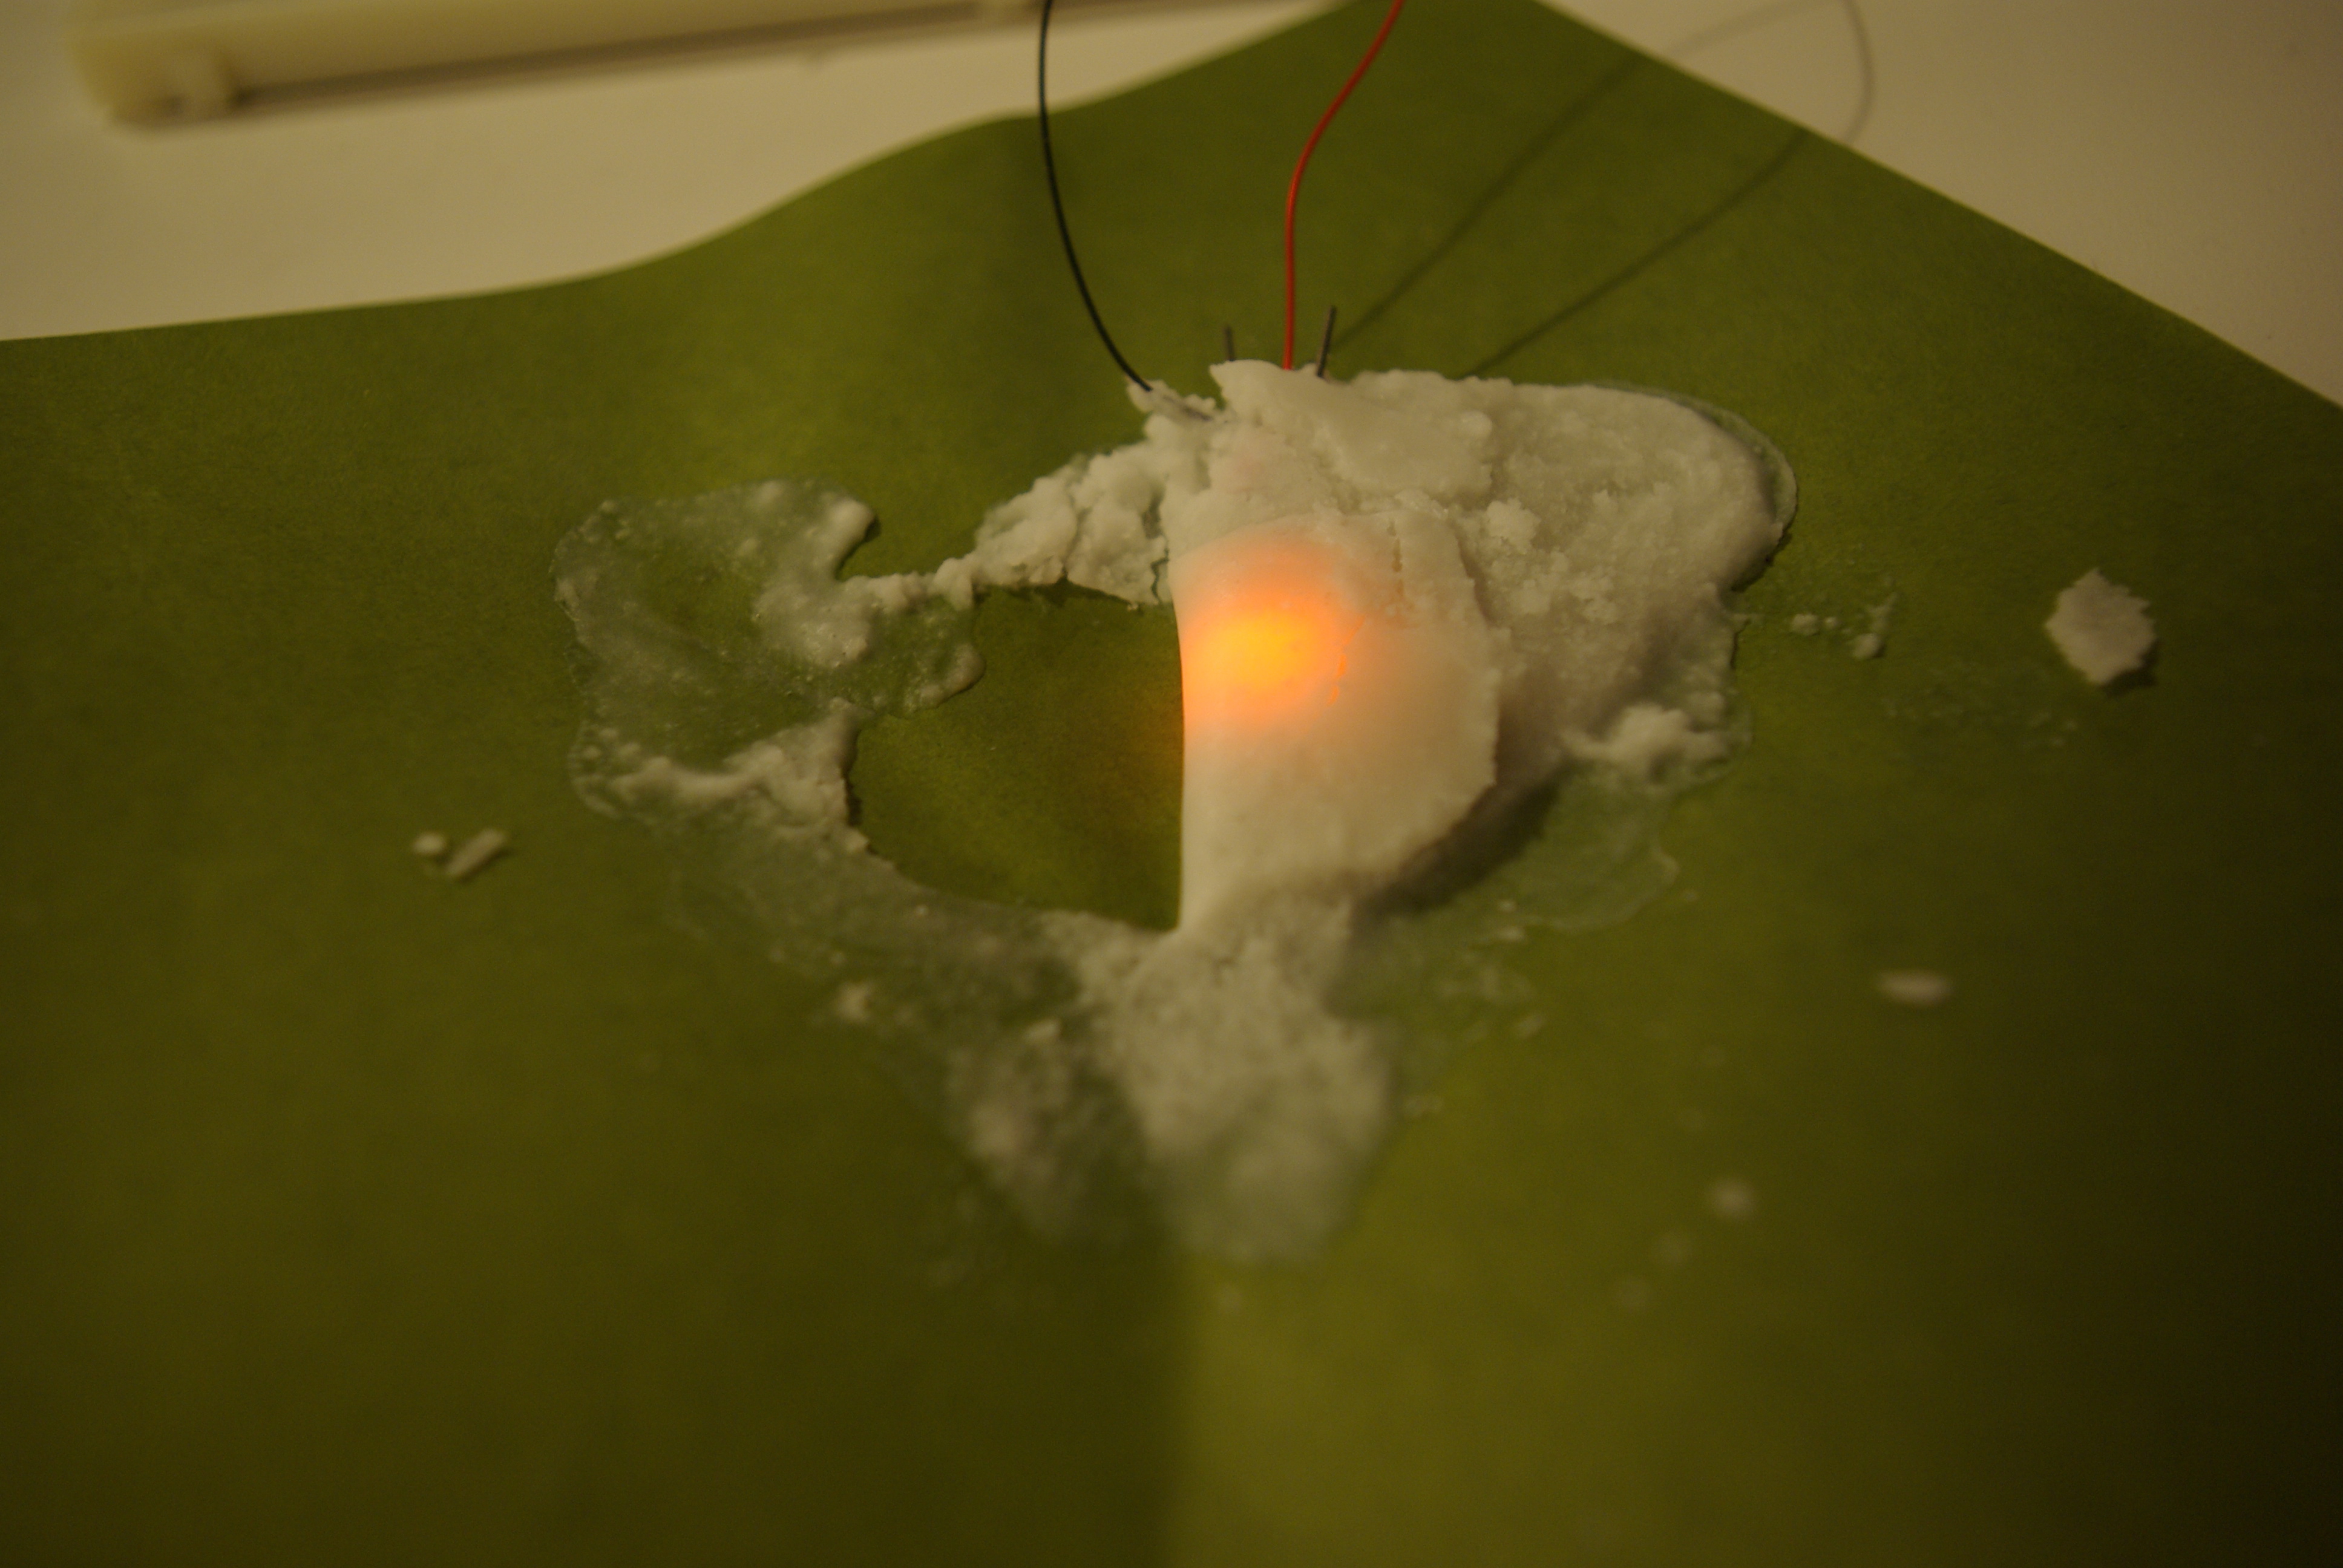
For the final, I slightly changed my code. I tried different things such as playing the Leds one after the other but it disturbed more the eye than enhanced the "flame" effect. I figured it was too animated for a design in a home, but I would be more accurate if the piece was an big installation in a gallery space.
my final code is HERE. It uses a randomSeed in the setup, so that every time the arduino starts up, it has a new base to start it's "random" numbers from. This randomSeed is actually taking a reading from an analog pin, which is not connected to anything. By doing this, I am getting a truly random number that is determined by the environment of the arduino more than anything else. Subsequently I use the random(); function in several places, including both to determine the order of the LEDs (going up and down), as well as their fade-on and fade-off durations.
My product sheet PDF can be found HERE. But here's an image of the paper, so you don't have to download anything, unless you want to.
:::Look and Feel:::
I have continue to experiment with the ability of paper, specifically velum, to diffuse light and create a sense of depth through the manipulation of shadow. A parallel process has been experimenting with the different shapes the piece could take. A while ago, I came across an amazing book, for any body who builds with paper, titled “Paper Forms”. This book has introduced me to a variety to techniques that allows you to create more structurally complex forms with paper. This prototype integrates one of this techniques and also an element of story telling. In this iteration we can see the appearance of one character. The character is also made out of paper and it is one of the 4 that will be present in the next iteration of this prototype. This characters ideally offer the user an open narrative and a sense of discovery as the light is turned on.
:::lights off:::

“>:::lights on:::

:::The light piece as a light fixture hanging from the ceiling :::
I spent a LOT of time trying to solve the code and the hardware issues.
Eventually, for the latest prototype I used the code and the hardware connections that I made before (with a few improvements).

Some of the code exp. that I was working on:
***************************************************
***************************************************
// Made with Pablo Ripollés
***************************************************
/* sheep
*/
int inPin = 7; // the number of the input pin
int outPin = 13; // the number of the output pin
int state = HIGH; // the current state of the output pin
int reading; // the current reading from the input pin
int previous = LOW; // the previous reading from the input pin
// the follow variables are long’s because the time, measured in miliseconds,
// will quickly become a bigger number than can be stored in an int.
long time = 0; // the last time the output pin was toggled
long debounce = 200; // the debounce time, increase if the output flickers
void setup()
{
pinMode(inPin, INPUT);
pinMode(outPin, OUTPUT);
}
void loop()
{
b1Reading = digitalRead(b1Pin);
b2Reading = digitalRead(b2Pin);
b3Reading = digitalRead(b3Pin);
// if we just pressed the button (i.e. the input went from LOW to HIGH),
// and we’ve waited long enough since the last press to ignore any noise…
if (b1Reading == HIGH && lastb1Reading == LOW && millis() – time > debounce)
{
alpha = HIGH;
// … and remember when the last button press was
time = millis();
}
if (b2Reading == HIGH && lastb2Reading == LOW && millis() – time > debounce)
{
alpha = LOW;
beta = HIGH;
// … and remember when the last button press was
time = millis();
}
if (b3Reading == HIGH && lastb3Reading == LOW && millis() – time > debounce)
{
alpha = LOW;
beta = LOW;
// … and remember when the last button press was
time = millis();
}
if (alpha == HIGH)
{
ddddddd
}
else if (alpha == LOW)
{
if (beta = HIGH)
{
}
else if (beta = LOW)
{
}
}
lastb1Reading = b1Reading;
lastb2Reading = b2Reading;
lastb3Reading = b3Reading;
}
***************************************************
***************************************************
// Made with Pablo Ripollés
***************************************************
int pins[] = {3, 5, 6, 9, 10};
int numPins = 5;
float Deltat;
float minDeltat = 3000.0;
float maxDeltat = 7000.0;
int value;
int minValue = 0;
int maxValue = 255;
void setup()
{
//
}
void loop()
{
for (int j=0; j<=9; j++)
{
Deltat = minDeltat + 9*j/(maxDeltat – minDeltat);
for (int i=numPins-1; i>=0; i–) // from last group to first group
{
for (int t=0; t<=Deltat/2; t+=5) // fade-in
{
value = minValue + 2*t*(maxValue – minValue)/Deltat;
analogWrite(pins[i], value);
delay(10);
}
for (int t=Deltat/2; t<=Deltat; t+=5) // fade-out
{
value = minValue – 2*(t – Deltat)*(maxValue – minValue)/Deltat;
analogWrite(pins[i], value);
delay(10);
}
}
for (int i=1; i<=numPins-2; i++)
{
for (int t=0; t<=Deltat/2; t+=5) // fade-in
{
value = minValue + 2*t*(maxValue – minValue)/Deltat;
analogWrite(pins[i], value);
delay(10);
}
for (int t=Deltat/2; t<=Deltat; t+=5) // fade-out
{
value = minValue – 2*(t – Deltat)*(maxValue – minValue)/Deltat;
analogWrite(pins[i], value);
delay(10);
}
}
}
//
}
***************************************************
***************************************************
This is the final code, for today:
reference from: http://www.slideshare.net/bruzed/student-lecture-3?type=presentation
***************************************************
int value = 12;
int pins[] = {1, 2, 3, 4, 5, 6, 7, 8, 9, 10, 11, 12, 13};
int numPins = 13;
void setup()
{
//
}
void loop()
{
int i;
for (i=13 ; i>=0; i–)
{
for(value=0; value<=255; value+=5)
{
analogWrite(pins[i], value);
delay(30);
}
}
int j;
for (j=0; j<=numPins; j++)
{
for(value=255; value>=0; value-=5)
{
analogWrite(pins[j], value);
delay(30);
}
}
}
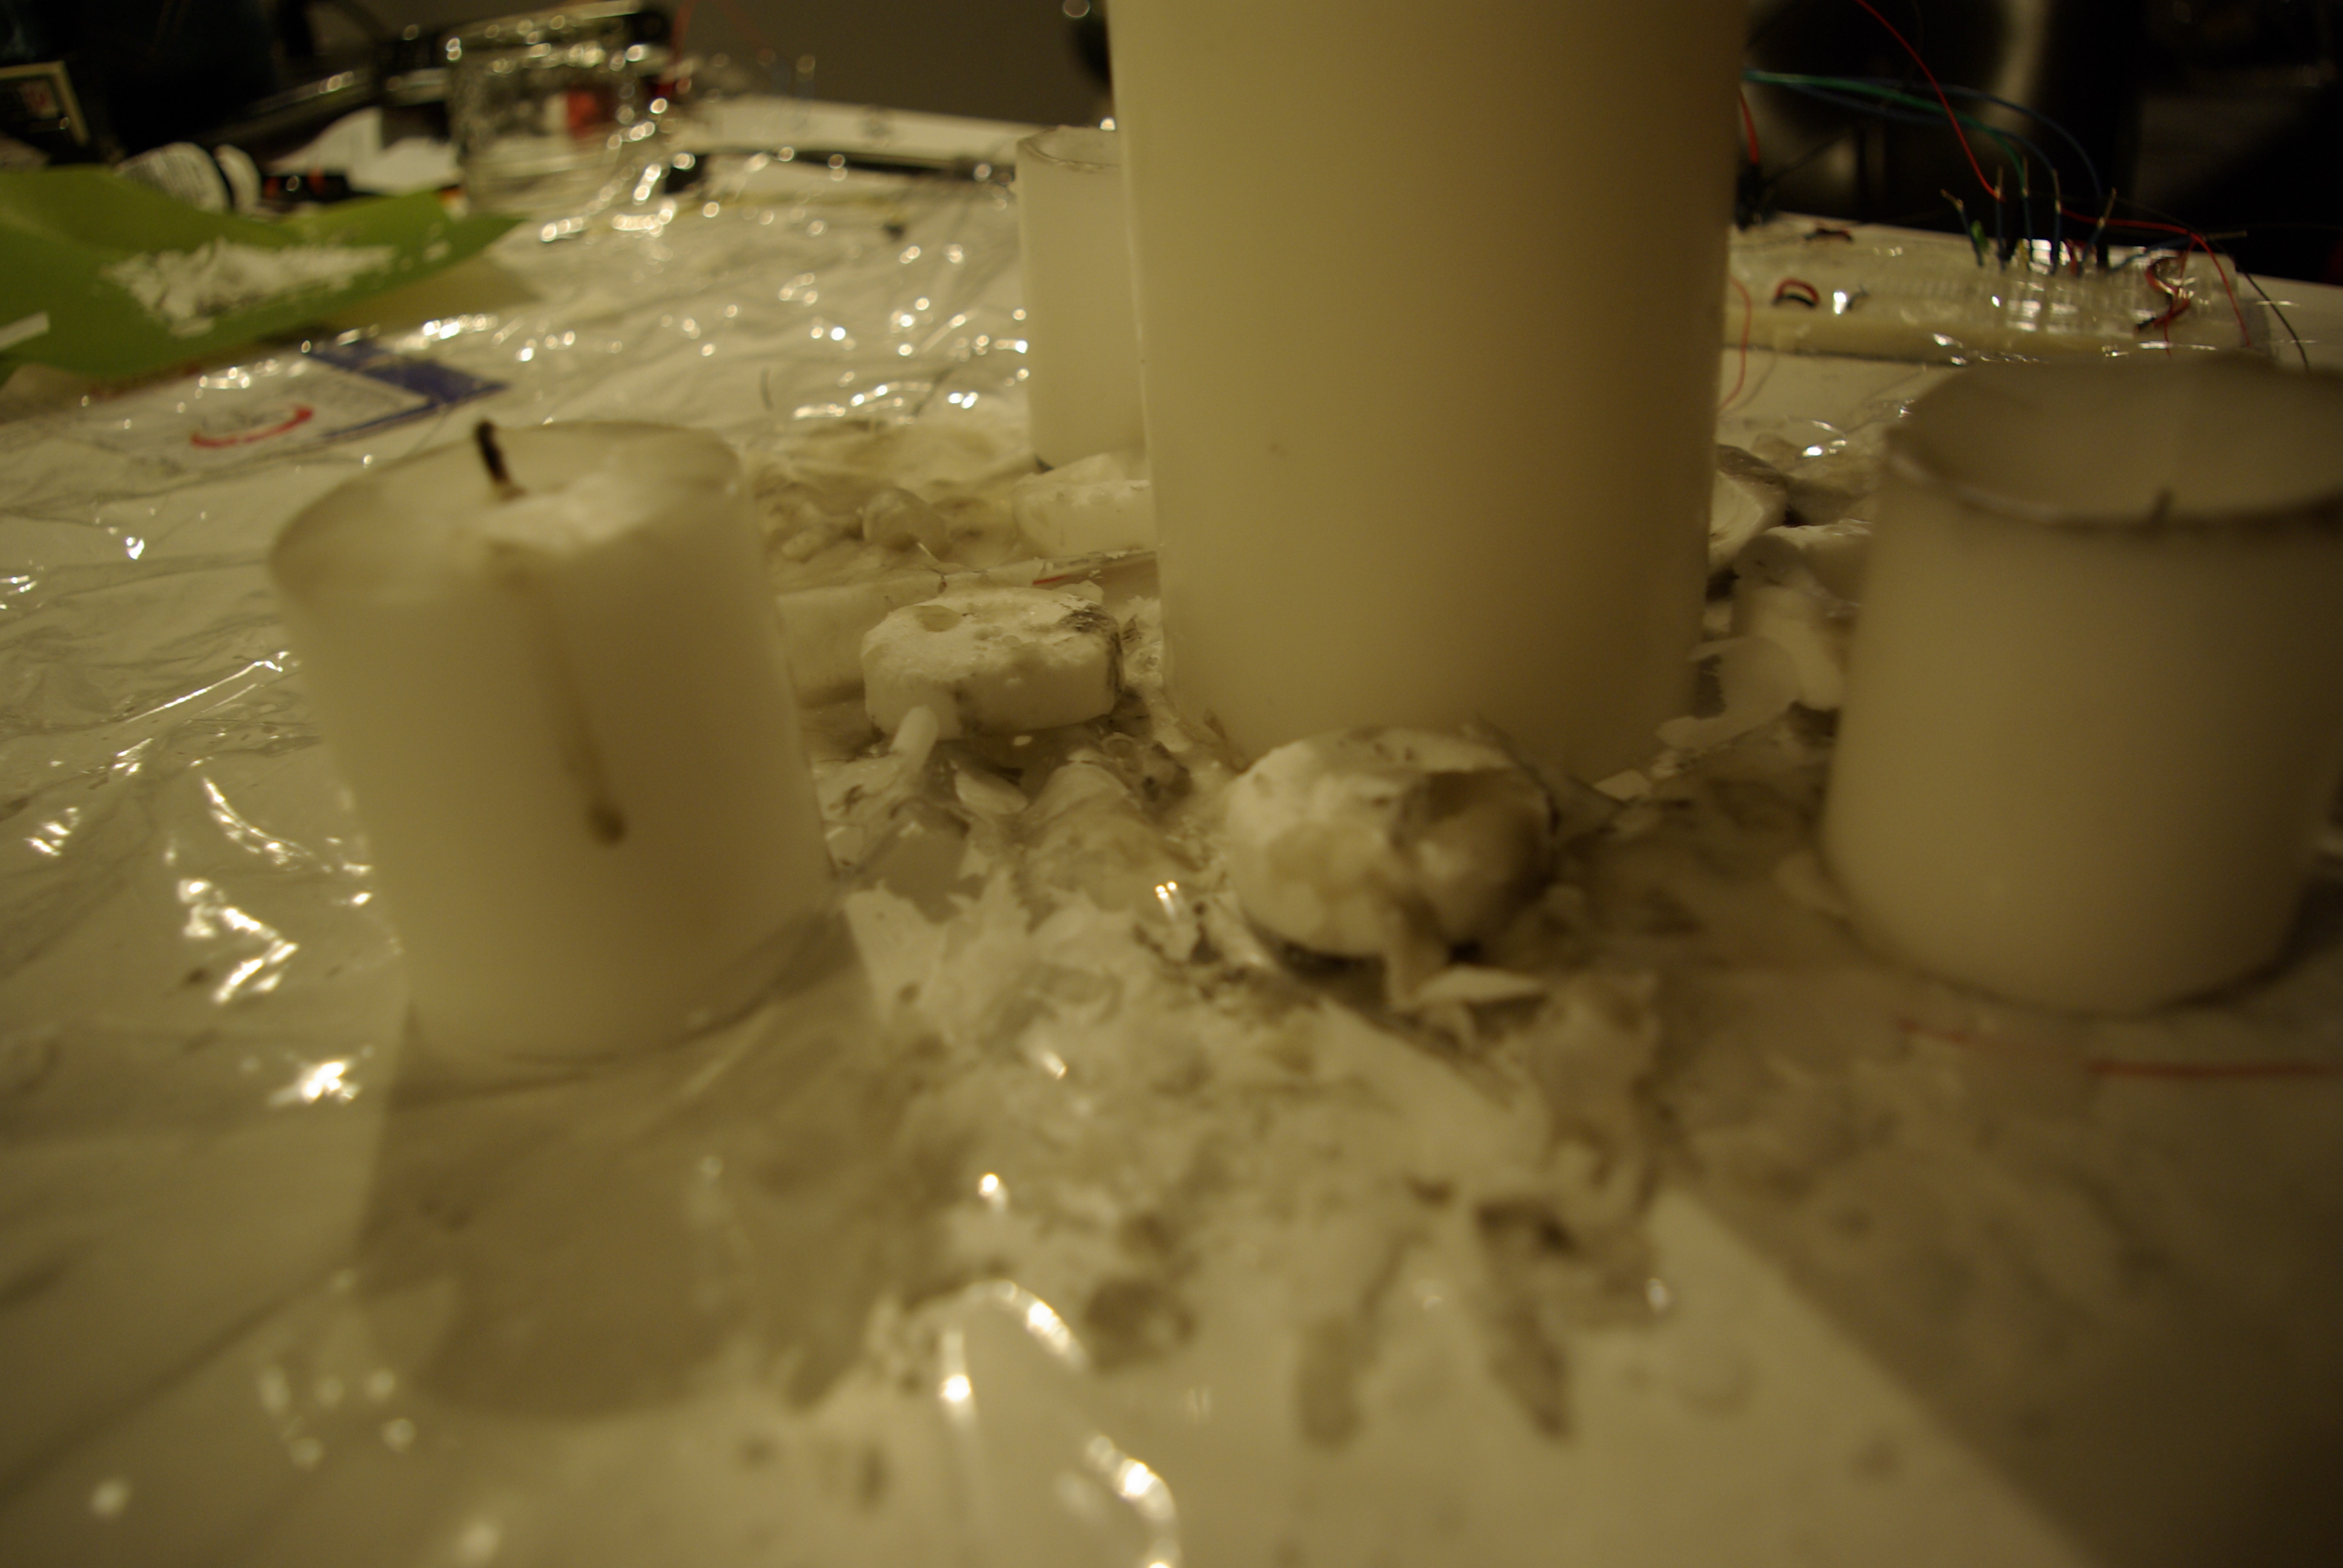
One of the hardware prototypes:

Tried different colors:

http://vimeo.com/moogaloop.swf?clip_id=3562095&server=vimeo.com&show_title=1&show_byline=1&show_portrait=0&color=&fullscreen=1
LampPrototype from Ira Goldberg on Vimeo.
My arrow is almost done, and it seemed unuseful to do it bigger for now. We can already see how it would look like by lookiing at the small one, and anyway my concept wouldn't be better if it was big or small.


http://vimeo.com/moogaloop.swf?clip_id=3561850&server=vimeo.com&show_title=1&show_byline=1&show_portrait=0&color=&fullscreen=1
Candles Leds from maryam aboukhater on Vimeo.


• • • • • • • • • • • • • • • • • • • • • • • • • • • • • • • • • • • • • • • • • • • • •


• • • • • • • • • • • • • • • • • • • • • • • • • • • • • • • • • • • • • • • • • • • • •
role

Roles
Twitlite is a cube that can be used in 2 ways:
1. A morse code messaging tool:
Users can use Twitlite to interpret their twitter feeds in morse code.

2. Mood light:
Users can place Twitlite in the living room, or any
other room, and let their twitter feed, or any other feed, augment the
ambience of the room.

Look and Feel
Twitlite is a white 4x4x4 cube with soft light emitted from the inside. The Arduino and tri color LED are mounted on the inside. Twitlite can be connected to the computer for internet usage and reprogramming using a USB, or to a power source using and adaptor.

Implementation
A python program is used to parse the twitter feed. You can change the credentials to use your own twitter feed. The python program parses and sends serial data to the Arduino program which interprets the received binary data, translates that into characters and processes it in the form of morse code. The color of Twitlite changes for each dot or dash with appropriate pauses between dots, dashes and letters.
The following diagram displays all of the correct dimensions and layout for the final prototype.

This is a potential placement and the desired look for the final prototype, white buttons and dark wood, trying to class it up.

So far I have begun adding the assets that will be concealed by the wood. I have also completed code for detecting button presses and for lighting the leds with pwm. The next step is to combine the code and have it working in conjunction.


Reply