Project 1, A “Simon Says Style Game”
In this 2-week assignment, make a “Simon Says” Style Memory Game.
Game Design Specs:
This is a memory game. A light/sound pattern is presented. The user copies that pattern. After a successful copy, the pattern gets longer. As the game progresses, the speed of the pattern presented increases. There is a conclusion of the game. If the user guess a 12 element pattern correctly they Win. Play an “Win Sound”. If they guess wrong, they loose, Play a Loose Sound.
Physical Specs:
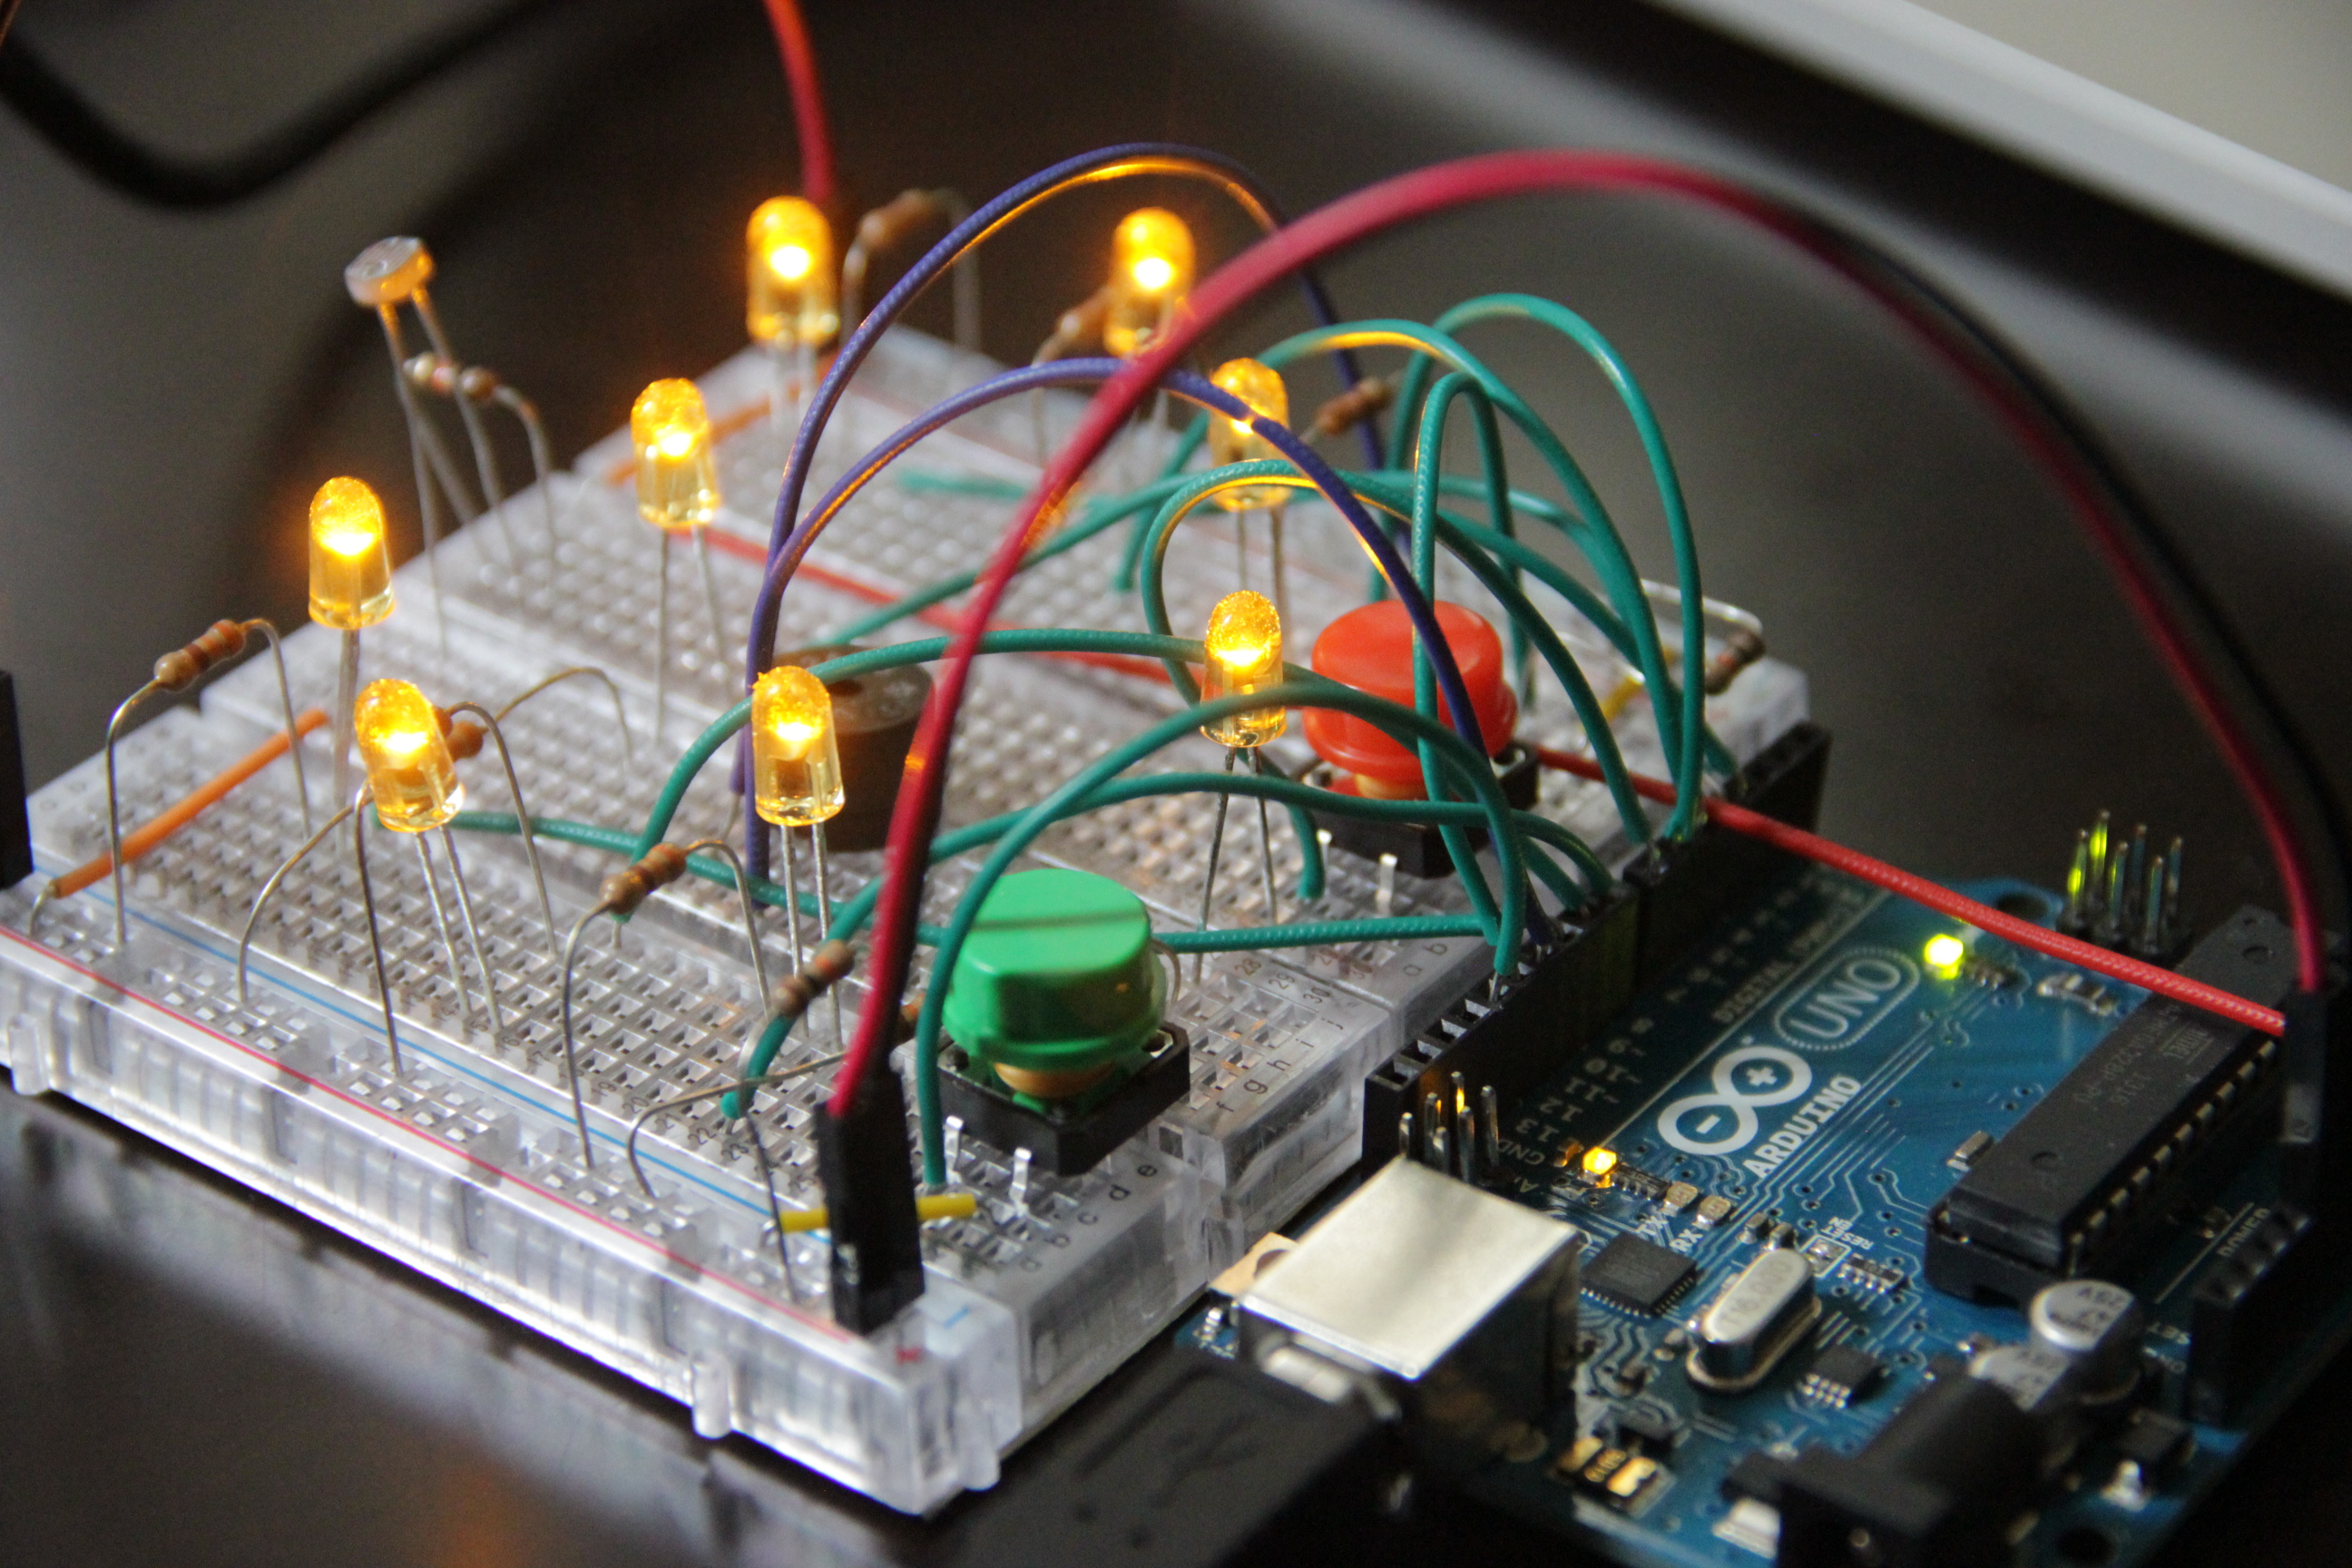
4 LED’s
4 Momentary Switches
Battery Pack/ or Plug-in Power
Speaker
A physical enclosure to hold all.
Vision and Enclosure Homework:
3 Sketches, or Image Mock-up “Blue Sky Idea”, or Vision of the Physical form.
3 Photo Found or Off Shelf Enclosures That you can “Tool”
Publish Images on Blog BEFORE class, and present these 6 images in class.
Sound Design Homework:
1) Make a “Start-up Sound and light effect”
2) Make a “You are Correct, you Win!” sound effect.
3) Make a “You are Wrong, you Dummy” sound effects, “You Lose”.
4) Make Simon Say something, incrementing up, with a pause in the middle.
Parts Budget: $20


Reply